
“Zero is in charge of the input methods,” Maximilian explains. “It runs a custom web interface and an instance of Pygame. This makes it possible to control the robot using a mouse, keyboard, multitouch, or simply an Xbox gamepad... Instead of specialised robotics servos, this robot uses inexpensive micro servos. Inside its 3D-printed frame there is just enough room for Raspberry Pi, together with a custom PCB for the microcontroller and servo driver.”
The microcontroller is an STM32, which is an ARM-based system which controls the leg locomotion through 18 of the affordable servos.
“All of these calculations run at 50Hz, enabling the hexapod to move smoothly and with high precision.”

Six degrees
Maximilian was inspired by earlier videos of the Boston Dynamics robot experiments, and loved the idea of making robots with legs – starting with a quadrupedal creation of his own, before moving to six legs.
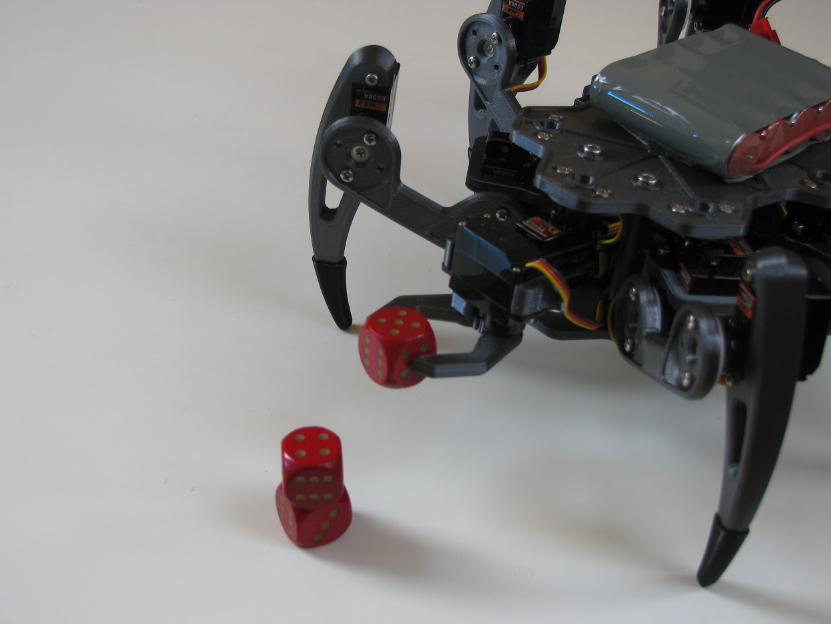
“It turned out to be really difficult to develop proper walking gaits, and the servos seemed to struggle with the weight of the robot,” he tells us. “The decision to go with four legs instead of six was mainly due to the cost of servo motors. However, six-legged robots have a big advantage: unlike quadrupeds, they can lift three of their legs while the remaining legs form a stable tripod. This eliminates the need for constant weight shifting and balancing.”
The decision to use Raspberry Pi was due to how easily you can connect Bluetooth controllers to it, making it more accessible than RC controllers. With this in mind, Maximilian started simulating his robot.
“With the simulation done, I went on to build the physical hexapod robot,” he says. “Since there are 18 servos needed for this hexapod, they define the total cost of the robot. I settled for some cheap Emax ES08A II micro servos which are quite powerful for their size. I only paid around €80 for the entire set of servos. When using proper smart servos for robotics, a single unit can cost this much.”
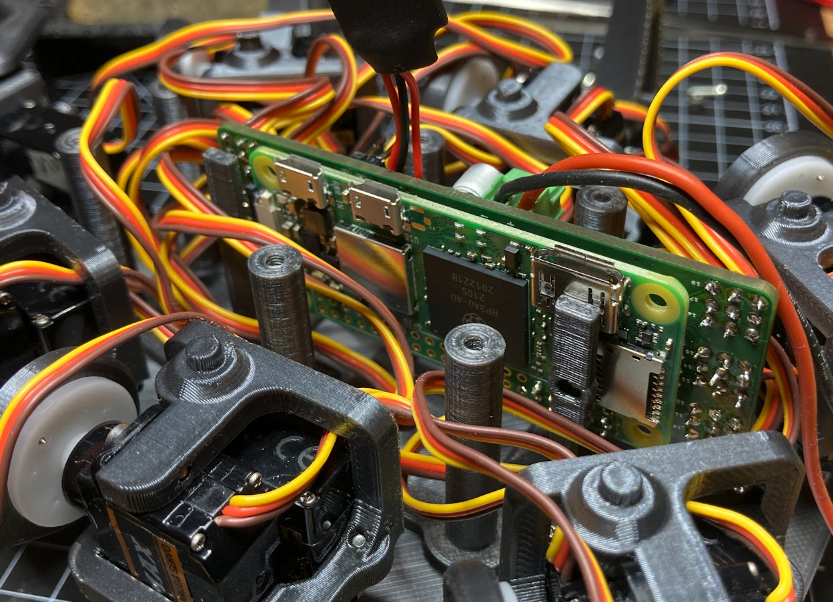
To drive the servos, 18 PWM outputs are needed. “I decided to use the STM32F103 as a microcontroller as it is Arduino-compatible, and I had already gathered some experience with my macro keyboard (magpi.cc/macrokeypad). To connect the microcontroller, PWM driver, and Raspberry Pi, I designed a custom PCB that plugs into the back of the GPIO header on Raspberry Pi. To save space, the connector only uses GPIO 1 though 10, which conveniently include 5 V, 3.3 V, ground, UART, and a couple extra I/O. Voltage regulators on the custom PCB enable the microcontroller and Raspberry Pi to be powered from the battery pack. Both Zero W and the custom board are mounted between the servos, so that the USB port can be accessed from the outside.”
Scuttling along
Maximilian claims that building a walking robot is not that hard; instead, making it look right while walking can be a challenge.
“Overall, I am really happy with how this project turned out,” Maximilian tells us. “I actually started working on a simulator in 2014 and shelved the whole project out of frustration, only to dig it up a few years later. Just at the start of last year it really clicked, and I got the motivation to go through with it.”
You can read a lot more about his development process on his Hackaday page, and he also has some ideas on how to improve it in the future.


