
Michael’s home is full of Raspberry Pi computers performing tasks from NAS to OctoPrint server and RetroPie games arcade, so it seemed obvious to use our favourite single board computer for his Sol-20 project. He chose a Raspberry Pi 4 because he needed “the horsepower it provides to run the emulator at speeds comparable to the original Sol-20”. He also realised the GPIO ports and option to use a variety of HATs – particularly the voltage shifter module – made Raspberry Pi a great choice for this build.

In the end, the project took around four months to complete, and cost roughly US $550.
Computer love
Michael wanted his Sol-20 reproduction to be “as authentic-looking as possible, with the beautiful walnut sides for sure”. He’d always admired the original computer’s striking steel blue sides too, but chose to 3D-print the case for his version, pointing out that also makes it easier and cheaper for anyone else following in his retro build footsteps.
Raspberry Pi came into its own when it came to the software written for Sol-20. Recreating the motherboard to do this and populating it with vintage parts would have been prohibitively expensive, Michael explains. Raspberry Pi runs code that emulates the 8080 CPU at the heart of the Sol-20. “On top of this, it emulates the original hardware providing a display via the HDMI port and a virtual cassette interface for loading and saving programs.” Michael used Python to write the Sol-20 hardware emulation software on top of an existing 8080 emulator that he found on GitHub.
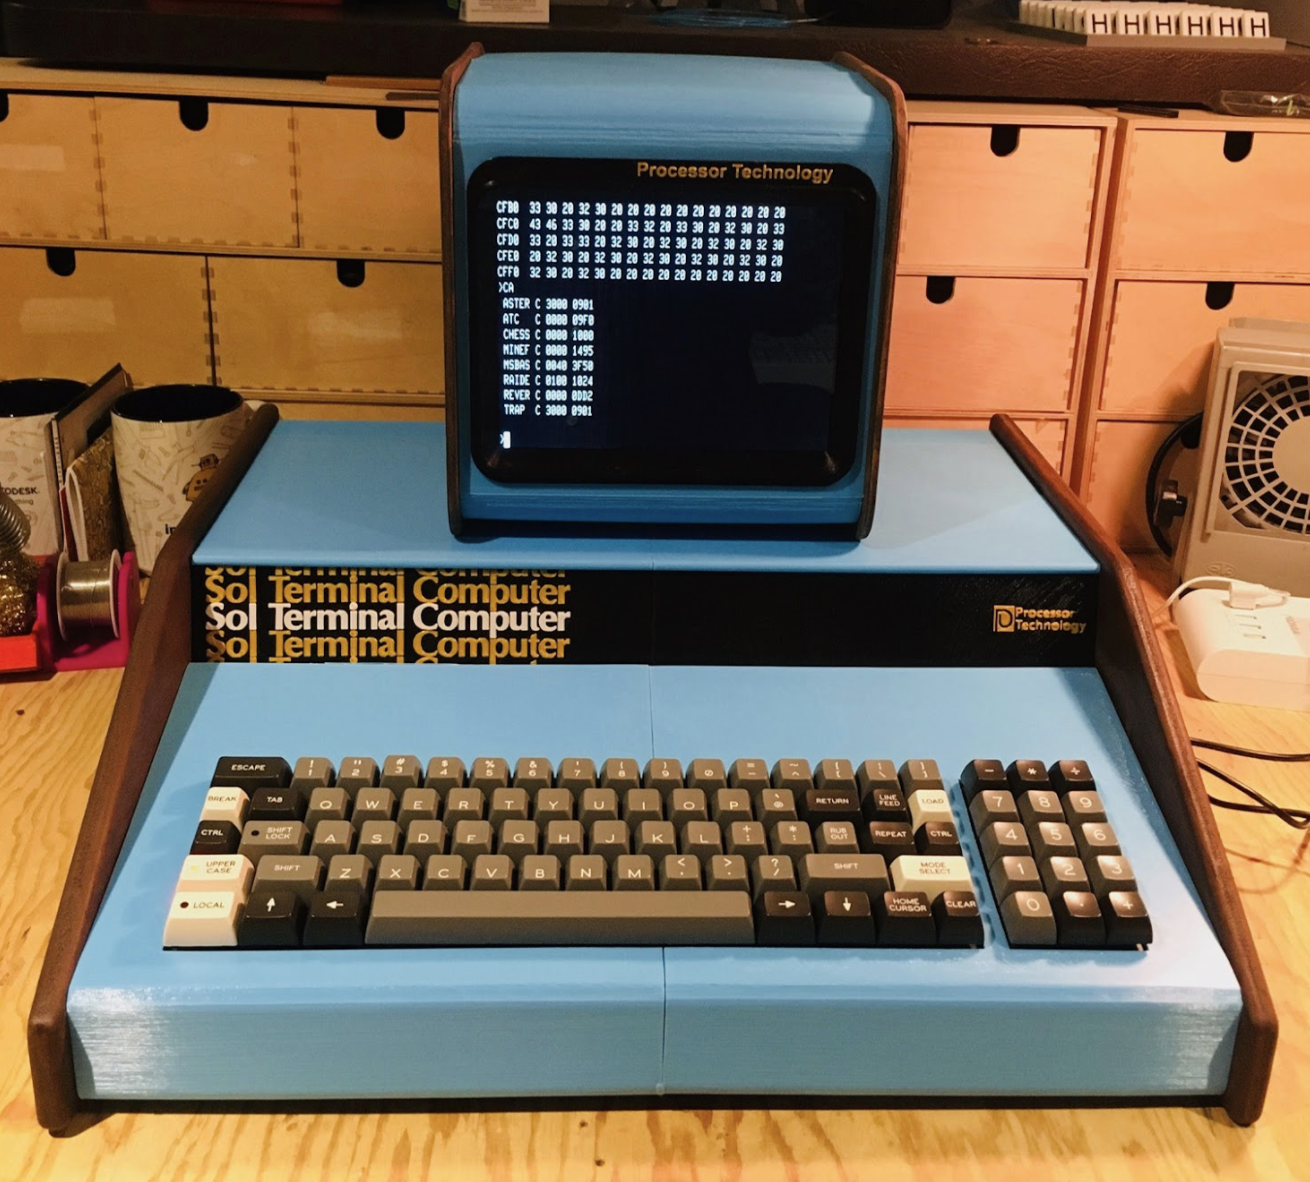
His Sol-20 emulator can be run on Raspberry Pi 4 with a standard keyboard and display, but another Sol-20 fan had recreated a keytronic version of the original keyboard (osiweb.org), and Michael couldn’t resist!
Screenwise, he bought a Pimoroni PIM372 8in XGA display. The full build details and hardware list can be found here.
New tricks
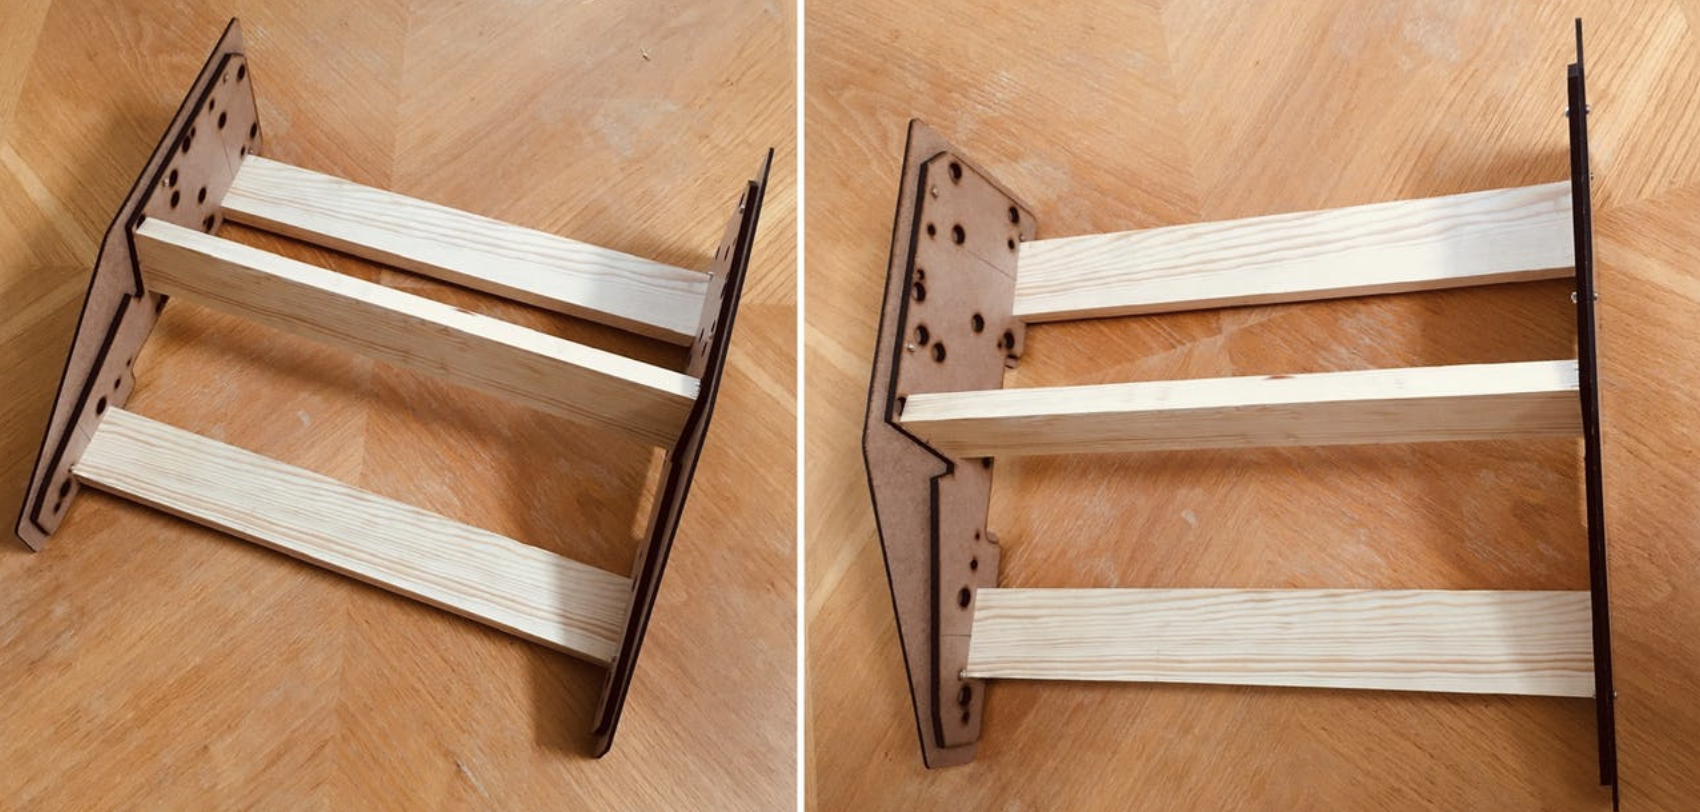
With detailed documentation about the computer he was trying to recreate available online, Michael says the Sol-20 project went smoothly. As a retro computer build veteran, he was able to apply lessons learned from previous projects such as the KENBAK-2/5 and DEC VT100 Terminal, both of which we’ve featured in The MagPi. However, he also challenged himself, learning how to use a CNC machine at his local maker space in order to recreate the Sol-20’s “gorgeous” walnut side panels.
If you’re thinking of your own reproduction of a classic, Michael warns you need to be prepared to be in it for the long haul. “Don’t start unless you are passionate about the idea,” he cautions, before enthusing: “Break the project up into smaller pieces that can be finished in a relatively short time. Keep plugging away at it. Have fun!”
For further information on Sol-20 Terminal Computer, Michael recommends visiting sol20.org, where you’ll also find Solace (SolAnachronistic Computer Emulation), a Windows version of Sol’s interface.


