The latest official Raspberry Pi add-on is a must for telly addicts. The Raspberry Pi TV HAT enables any Raspberry Pi (with 40‑pin GPIO) to decode live digital TV signals and stream them to remote devices – such as another Pi, computer, or even a smartphone. The TV HAT’s built-in Sony CXD2880 tuner supports DVB-T2 and DVB-T standards (Freeview in the UK), so you can watch all your favourite channels. Here we show you how to set it up, and even use it to turn a Pi into an all‑in-one TV/PVR.
Assemble and mount
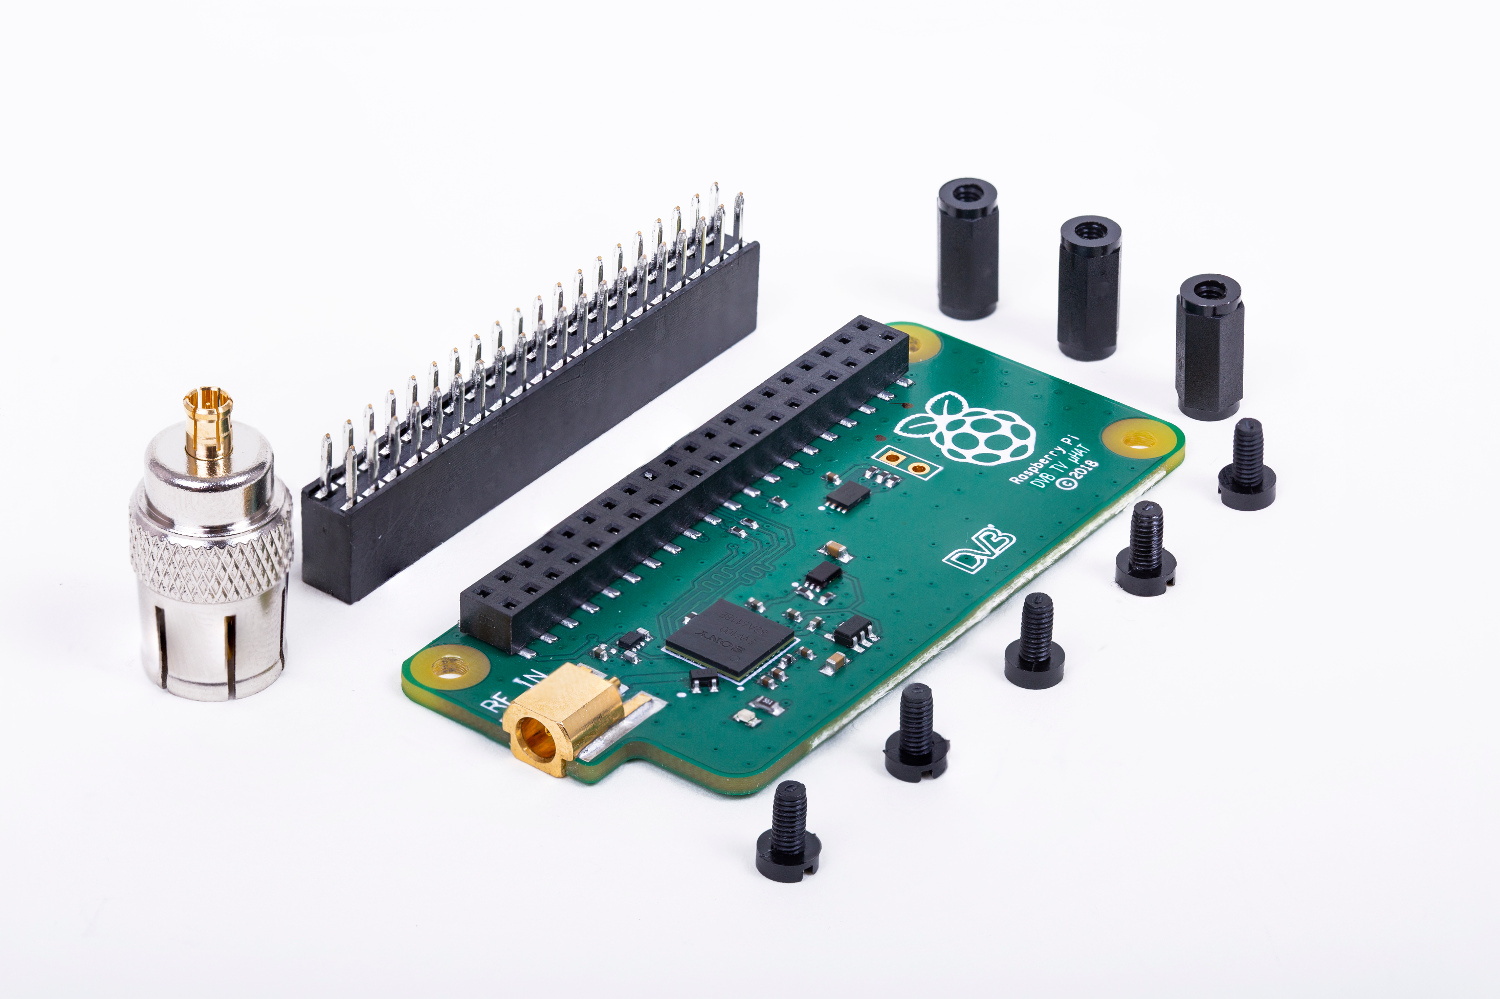
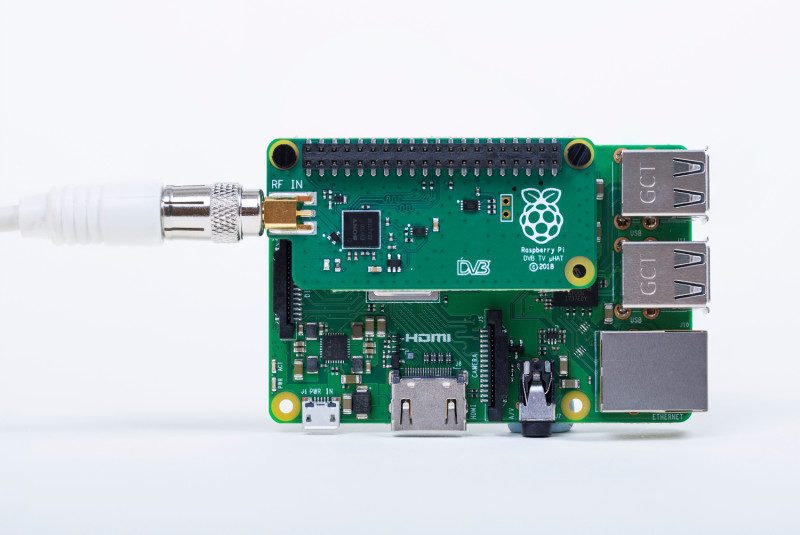
Insert the thin end of the supplied silver RF cable adapter into the gold connector on the side of the TV HAT. Take the supplied 40-pin header and insert its pins into the holes in the underside of the TV HAT – not into the black female header on the top! Mount the TV HAT on the Pi, with the RF adapter at the microSD card slot end. To make it secure, you can screw it in using the supplied stand-offs.

Install Tvheadend
Connect a coaxial RF cable from a TV aerial socket to the RF adapter on the TV HAT. You’ll need decent digital terrestrial TV (Freeview in the UK) reception for the tuner to work. With Raspbian Stretch installed on its microSD card, turn on the Raspberry Pi – a green LED will light on the TV HAT.
We need to install a back-end TV service to stream video: we’ll use Tvheadend. To install it, open a Terminal window and enter:
sudo apt-get update
sudo apt-get install tvheadend
Configure Tvheadend
It takes a few minutes for Tvheadend to install, so you may want to go and make a cup of tea. Once installed, a package configuration screen will appear and you’ll be prompted to enter a Tvheadend administrator user name. For simplicity’s sake, enter kodi for this, then also enter kodi for the password – you can always change it later if you prefer. You’re now ready to log in from another device.
Log in remotely
Now that Tvheadend is running, you can access it from another computer (possibly a second Raspberry Pi). In a web browser, enter this address: http://raspberrypi.local:9981/extjs.html.
If that doesn’t resolve, use the Pi’s IP address instead, followed by :9981/extjs.html. Log in using kodi for both the user name and password. A configuration wizard will appear, enabling you to choose the TV network type and transmitter.
Configure TV network
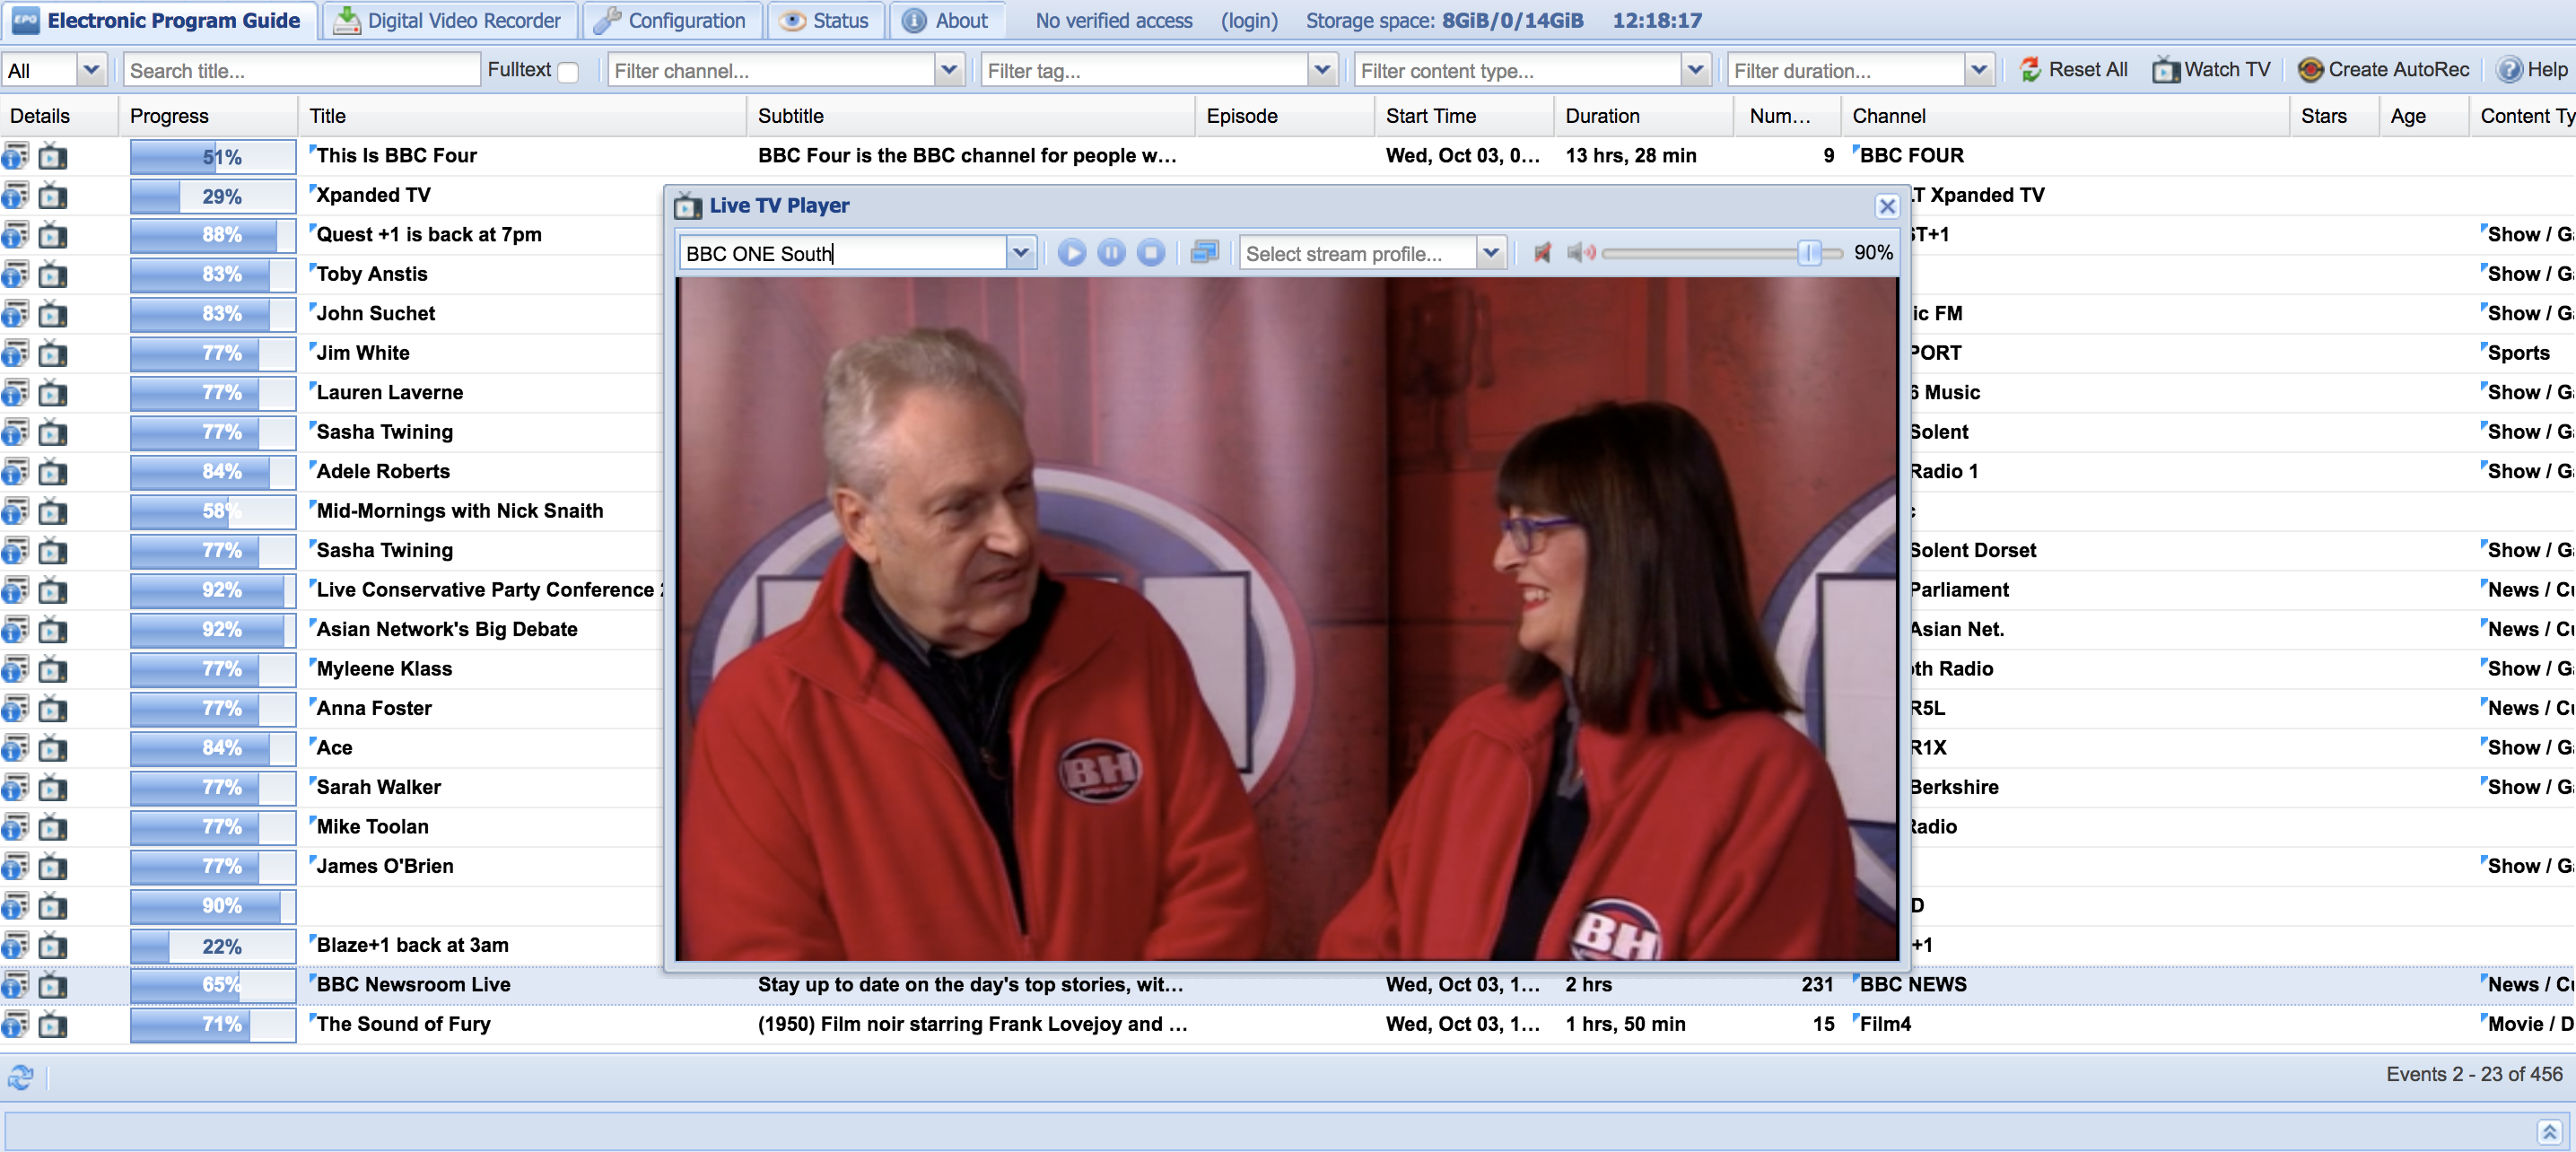
In the configuration wizard’s ‘Network settings’, it should show ‘Tuner: Sony CDX2880 #0 DVB-T #0’. For the Network Type, choose ‘DVB-T Network’. For predefined muxes, select your local transmitter: for example, ours was uk-Rowridge. Upon clicking Save & Next, it’ll start scanning for muxes and services (channels). After it reaches 100%, tick all three boxes (Map all services, Create provider tags, Create network tags) and an electronic programme guide (EPG) will appear.

Watching TV
You can now watch live TV streamed from the TV HAT in your browser. In the EPG, click the TV icon to the left of any programme to show it in a window, which you can expand to full-screen. There are also options to schedule and record shows – use the Help option for more details.
As well as using a web browser, you can view the TV stream from a variety of clients, including Kodi, omxplayer, VLC, and smartphone apps - you can find a full list on the Tvheadend website.
Using Kodi
The live TV stream from the TV HAT can be accessed in the Kodi media player, most easily by using the LibreELEC OS on a Raspberry Pi. Install the Tvheadend client by selecting Add-ons > Install from repository > PVR clients > Tvheadend HTSP Client.
In addition, using LibreELEC, it’s possible to set up both the Tvheadend client and server on the same Raspberry Pi – a Pi 2, 3, or 3B+ is recommended – for an all-in-one TV/PVR device. To do so, select Add‑ons > Install from repository > Services > Tvheadend Server 4.2, and install it. Access it from another computer using the IP address followed by :9981 and set it up as in Configure TV network above. You can then access it from within LibreELEC (with the Tvheadend client installed) by selecting the main ‘TV’ option.
To make TV recordings, you’ll need to create a recordings folder on a connected USB stick or hard drive – navigate to it in File Manager, right-click, and select ‘Make new folder’). Then, in the web interface on a remote computer, go to Configuration > Recordings and set the recording system path to var/media/[yourdrivename]/recordings.


