
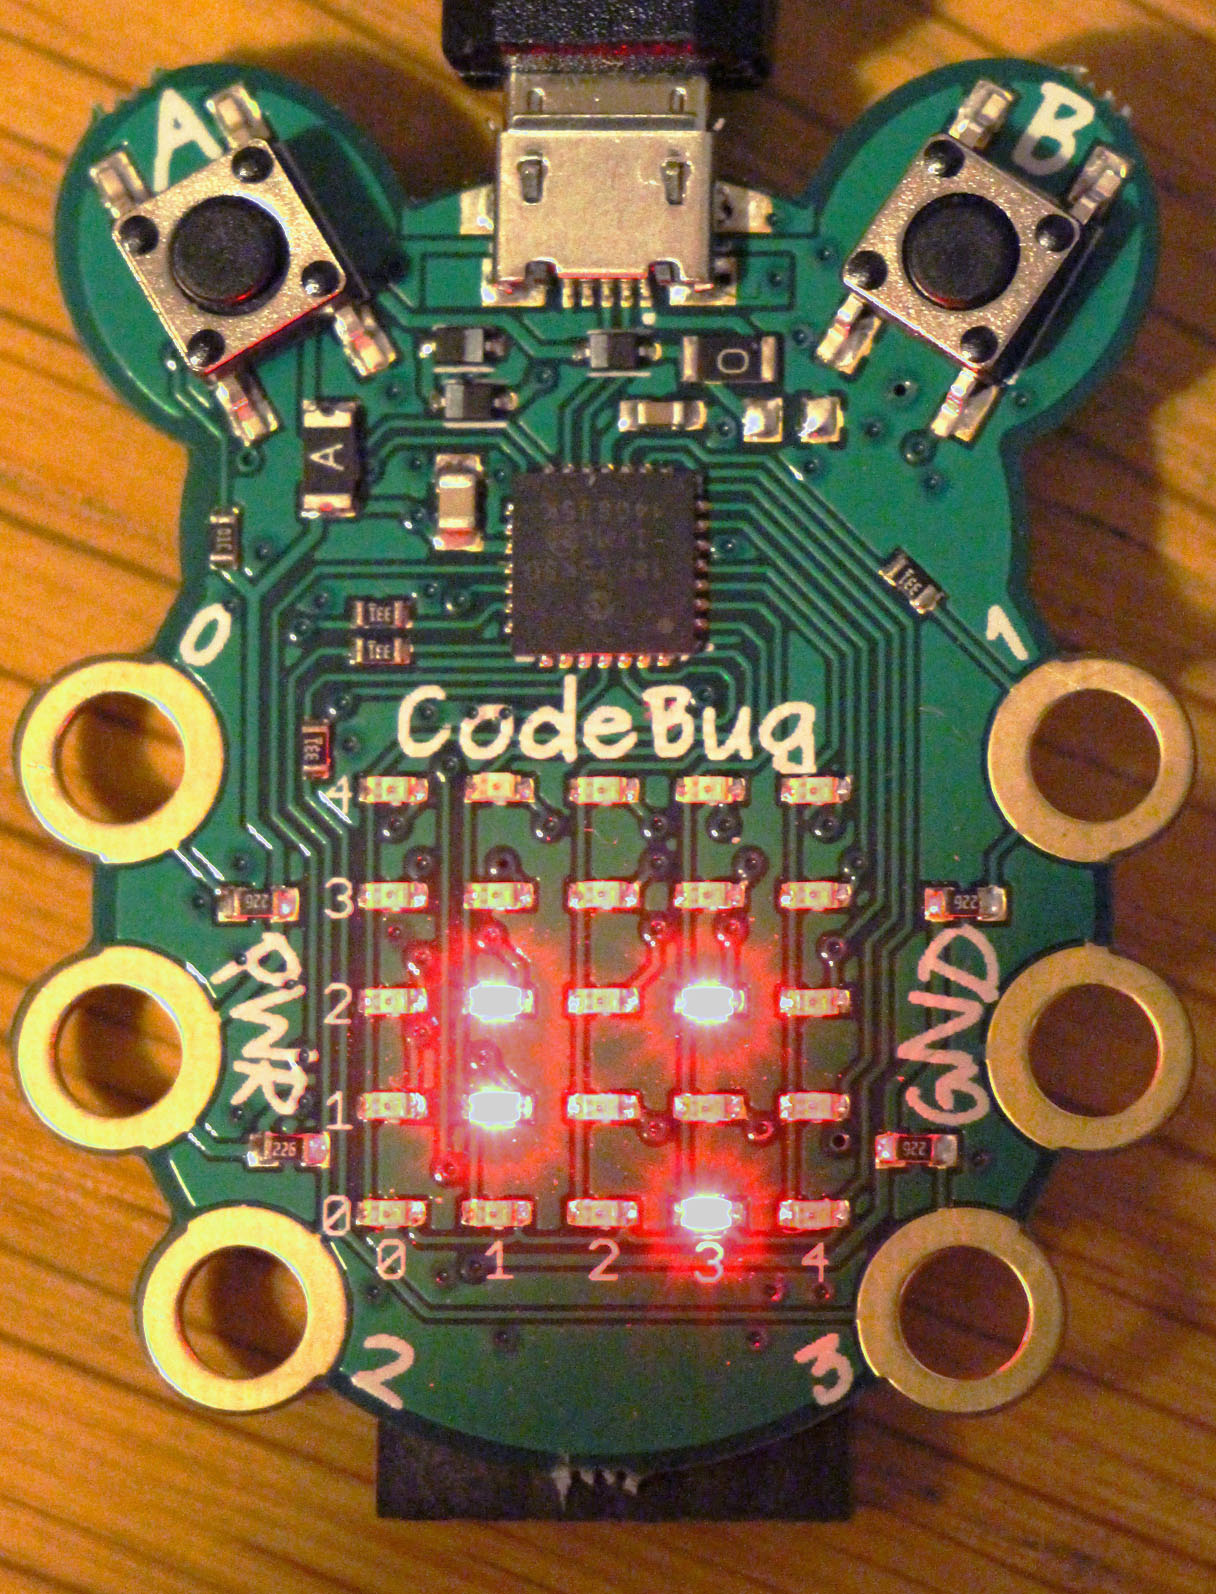
The CodeBug is simple to set up and start programming with the Scratch-like Blocky interface on the website. Once you have mastered this, you'll probably want to move on to the next stage and take full control with a more powerful language like Python 3. This allows you to include more ambitious data structures, such as lists and tuples, and build larger projects with procedures. Your expert started to wonder how good a game you could build with just a square of 25 LEDs and a switch. This is his first attempt.
The full article can be found in The MagPi 41 and was written by Tony Goodhew
You'll need
USB Micro B cable (included)
Python libraries: python3-serial & python3-codebug-tether
CodeBug script: codebug-tether.cbg
STEP-01 Game rules
We need a simple game in which you press a button when a target is in a certain position. Back in the late 1970s, your expert used to set a ‘Zap the Rat’ game as homework while teaching Commodore PET or Ohio Scientific Basic. You have to click a button as a moving ‘rat’ target passes a certain ‘zapping point’ on a circuit. In this version, the speed increases each time you successfully hit a rat, and you need to hit three rats with as few attempts as possible. It would be nice to display the hits while the game is running, and a final score to show how many times you missed the target. Can all of this be fitted on a 5×5 LED display?
STEP-02 Planning the display
The circuit will be all the outside edge LEDs, with the rats starting their run from the bottom-left corner: (0,0). The zap cell will be at (4,2), with a permanently lit LED at (3,2) to mark it. Hits can be indicated by a column of lit LEDs rising from (1,1) to (1,3). Button ‘B’ will be used to zap the rat. The final score can be displayed with either a character ‘O’ to indicate no missed zap opportunities - quite difficult to achieve - or lit LEDs (0 -25) for each miss. For a ‘hit’ to register, the button must be pressed while the zap position LED is lit; holding the button down won't work.
STEP-03 Setting up the CodeBug
To run the CodeBug in tethered mode, you'll need to download and install a program called codebug_tether.cbg. Once installed in the normal way, the CodeBug temporarily becomes a slave device to your Raspberry Pi and obeys instructions sent from Python 3. (This is rather like using Nanpy to control an Arduino from a Pi.)
Two additional Python libraries, python3-serial and python3-codebug-tether, need to be installed on the Pi. Point your browser to the Codebug site and follow the excellent instructions from Thomas Macpherson-Pope.
Open IDLE 3 and type in the Zaptherat.py Python script. Save it and run it.
STEP-04 Things to do
There are several modifications and additions you could make to the script:
• Randomise the rat’s starting position
• Randomise the direction in which the rat runs around the circuit
• Improve the zero final score to a square, expanding and contracting from position (2,2) to the edge and back again five times as a celebration.
Code listing
# Zap the Rat - Python3 Game for Tethered CodeBug
# Tony Goodhew - 5 Oct 2015
import codebug_tether
import time
cb = codebug_tether.CodeBug()
cb.clear()

# Circuit LED co-ordinates - round the edge from bottom-left
LEDx =(0,0,0,0,0,1,2,3,4,4,4,4,4,3,2,1)
LEDy =(0,1,2,3,4,4,4,4,4,3,2,1,0,0,0,0)
for i in range(0,-66,-1):  # Display game title
    cb.write_text(i,0,'Zap the Rat', direction="right")
    time.sleep(0.1)

score = 0            # Rats zapped!
opps = 0             # Zap opportunities
p = 0                # Position of rat on circuit (0-15)
delay = 0.05         # Initial delay between rat moves
old_sw = 0                    # Last value of switch B
running = True                # Loop control variable
cb.clear()
cb.set_pixel(3,2,1)           # Show Zap position

while running:
    cb.set_pixel(LEDx[p],LEDy[p],1)   # Show rat
    if p == 10: opps = opps +1        # Incr opps - in (4,2)
    time.sleep(delay - score * 0.007) # Wait - gets faster
    sw = cb.get_input('B')            # Read switch B
    pixel = cb.get_pixel(4,2)         # Rat in Zap position?
    cb.set_pixel(LEDx[p],LEDy[p],0)   # Hide rat
    if old_sw == 0 and sw == 1 and pixel == 1: # Hit?
        score = score +1              # Increment hits
        cb.set_pixel(1,score,1)       # Show hits
        if score == 3:                # Game over?
            running = False           # Stop looping
        p = -1             # Position of next rat
    old_sw = sw            # Store switch value
    p = p + 1              # Update rat position
    if p > 15:             # Rat pointer out of range?
        p = 0              # Reset to start position

cb.clear()  # Game over - display opportunities
opps = opps - 3  # Remove successful opportunities
print("Missed Opportunities were ",opps)
if opps > 25:  # Reduce missed opps to 25 max
    opps = 25
if opps == 0:
    cb.write_text(0,0,'O') # Zero missed opps
else:
    for x in range(0,5):   # Display missed opps
        for y in range(0,5):
            if opps > 0:
                cb.set_pixel(x,y,1)
            else:
                cb.set_pixel(x,y,0)
            opps = opps - 1
time.sleep(5)
cb.clear()  # Tidy display


