Power your Raspberry Pi: expert advice for a supply
By Russell Barnes. Posted

Don’t let your Raspberry Pi suffer from a shortage of volts. Our expert guide to safe and portable power supply for the Raspberry Pi will help
Advertisement
Introducing the smarter desktop: use cloud apps, thin clients, and get real work done on a Raspberry Pi. Also in the magazine we’re building a digital jukebox, controlling a robot arm, storing…
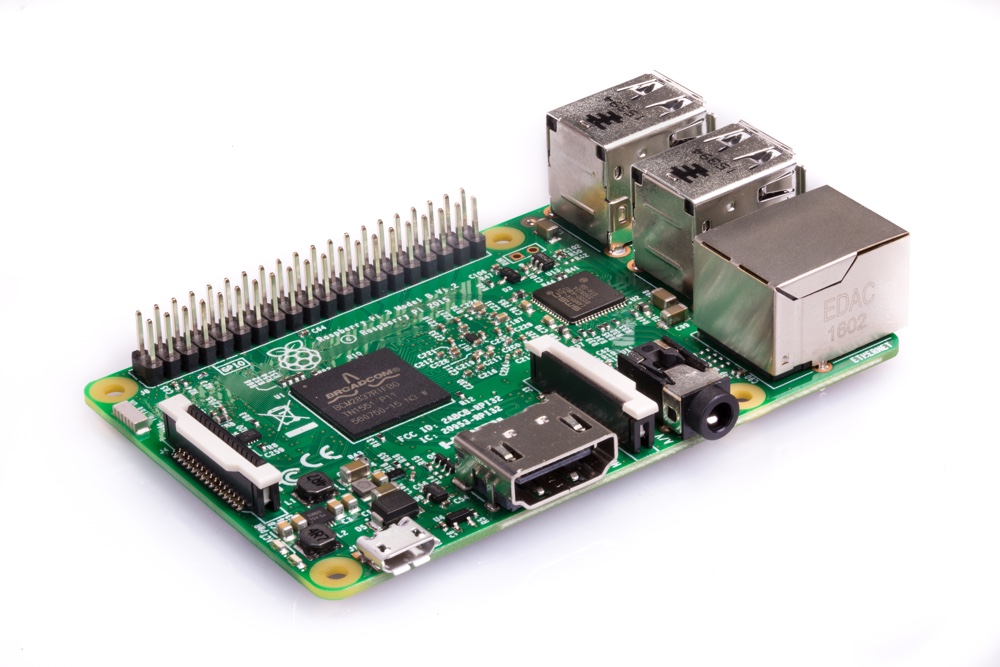
How to power a Raspberry Pi is, on the surface, a remarkably simple affair. All Raspberry Pi boards are designed to use the same micro USB power socket as many smartphones. All you need is a spare USB adapter, and it will provide power to your Raspberry Pi.
That’s the basic requirement. Of course, this being a board for makers and hackers, there’s far more to it than that. Learning how to properly supply the right amount of power to your Raspberry Pi board is important as you start to create complex projects.
See also: Raspberry Pi FAQs
Recommended power supply for Raspberry Pi
A 5V micro USB typically powers the Raspberry Pi. But how much current (in milliamps or amps) the Pi requires to function depends on your usage.
The recommended amount is between 700mA for a Raspberry Pi Model A, and up to 2.5A for a Raspberry Pi 3 Model B (see ‘Power Supply Requirements’ in The MagPi Issue 56, Page 39.).
The Raspberry Pi boards typically draw much lower amounts, between 200 and 500mA.
Usage depends on what you’re doing with the Pi. Playing video and browsing the web draws more power than idling and booting. It also depends on what devices you have connected; some keyboards and mice draw more power than others.
Low power warning in Raspbian
The Raspberry Pi can function on a lower supply, but it may have problems when you start to do demanding tasks or add peripherals.
The Raspbian operating system comes with a low voltage indicator icon. This yellow lightning bolt appears in the top-right of the screen. It is used to indicate an under-voltage warning.
Drawing too much power from the Raspberry Pi board isn’t dangerous, but it can cause erratic behaviour. If you want to attach several performance-heavy peripherals to your Raspberry Pi, it’s best to use a powered USB hub.
Using the official supply
The Raspberry Pi Universal Power Supply is a dependable energy source. It’ll keep feeding your Pi the steady 2A it needs for proper performance. If you’re worried about getting stable power, then it’s a good idea to invest in a suitable adapter.
How to power a Raspberry Pi via GPIO

A more technical (and dangerous) way to power the Raspberry Pi is via the GPIO pins.
The 5V GPIO pins on a Raspberry Pi are connected to the 5V rail. Typically they provide the remaining power from the Raspberry Pi (that isn’t being used to run the board itself). So you can hook up the GPIO 5V pins to a 5V source and feed energy directly to the board.
- Connect a 5V source to Pin #2 (5V).
- Connect the ground of that source to Pin #6 (GND).
Please be aware that there is no regulation or fuse protection on the GPIO to protect from over-voltage or current spikes.
If an incorrect voltage is applied, or a current spike occurs on the line, you can permanently damage your Raspberry Pi.
Run a Raspberry Pi via HAT

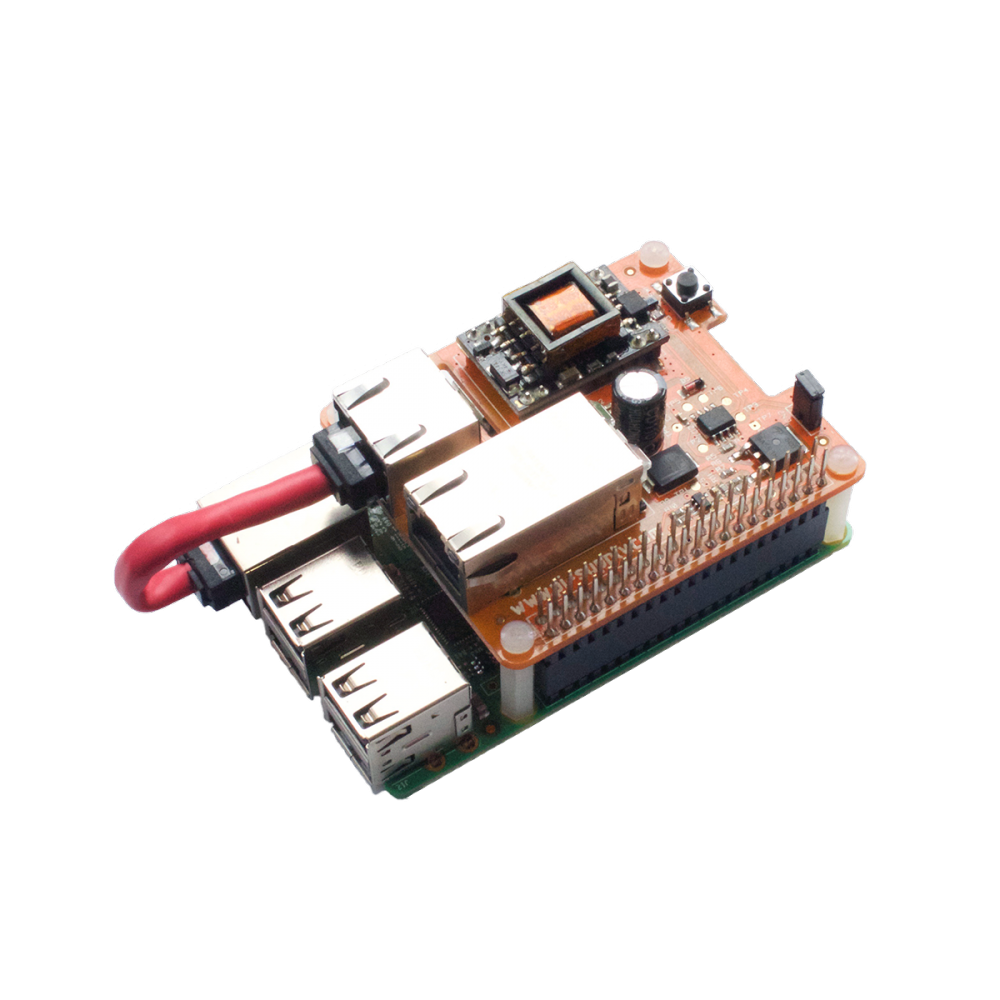
If you’re looking to run the Raspberry Pi via the GPIO pins, then it’s best to go via a HAT. The hardware sits on top of the GPIO pins and adds the safety features you need.
Power over Ethernet

Supplying charge to your Raspberry Pi via the Ethernet cable is an attractive proposition, but it’s not provided as standard. If you’re interested in powering your Raspberry Pi via a network cable, then take a look at the Pi PoE Switch HAT .
Mobile power
It is possible to provide charge to the device from a battery pack designed for mobile phone charging. Companies such as Anker and Poweradd are known for their mobile charging solutions.
But if you want something a little more serious, we reviewed the Zero LiPo in issue 51 and found it a smart solution. It supplies charge from lithium batteries via the GPIO pins with safety management features.
For detailed charts of supply requirements and typical usage, see The MagPi Issue 56, Page 39.

Russell runs Raspberry Pi Press, which includes The MagPi, Hello World, HackSpace magazine, and book projects. He’s a massive sci-fi bore.
Subscribe to Raspberry Pi Official Magazine
Save up to 37% off the cover price and get a FREE Raspberry Pi Pico 2 W with a subscription to Raspberry Pi Official Magazine.
More articles

Network mapper
It’s not as efficient as reading a table of figures, but we love this display anyway.
Read more →

Raspberry Pi camera tripod mount review
The easy way to mount a Raspberry Pi Camera Module.
Read more →

Cassette MagSafe stand
This is one of those builds that straddles the line between silly and brilliant.
Read more →
Sign up to the newsletter
Get every issue delivered directly to your inbox and keep up to date with the latest news, offers, events, and more.
