Although it’s a little short on memory when it comes to heavy-duty multi-track audio editing, a passively cooled Pi runs completely silently, which makes it easy to create clean voice recordings with minimal background noise.
These instructions will work perfectly on any Debian-based Linux distro, such as Raspbian or Ubuntu MATE. As you’re going to be recording raw PCM audio, we recommend using a reasonably large microSD card if you plan to keep previous recordings for posterity.
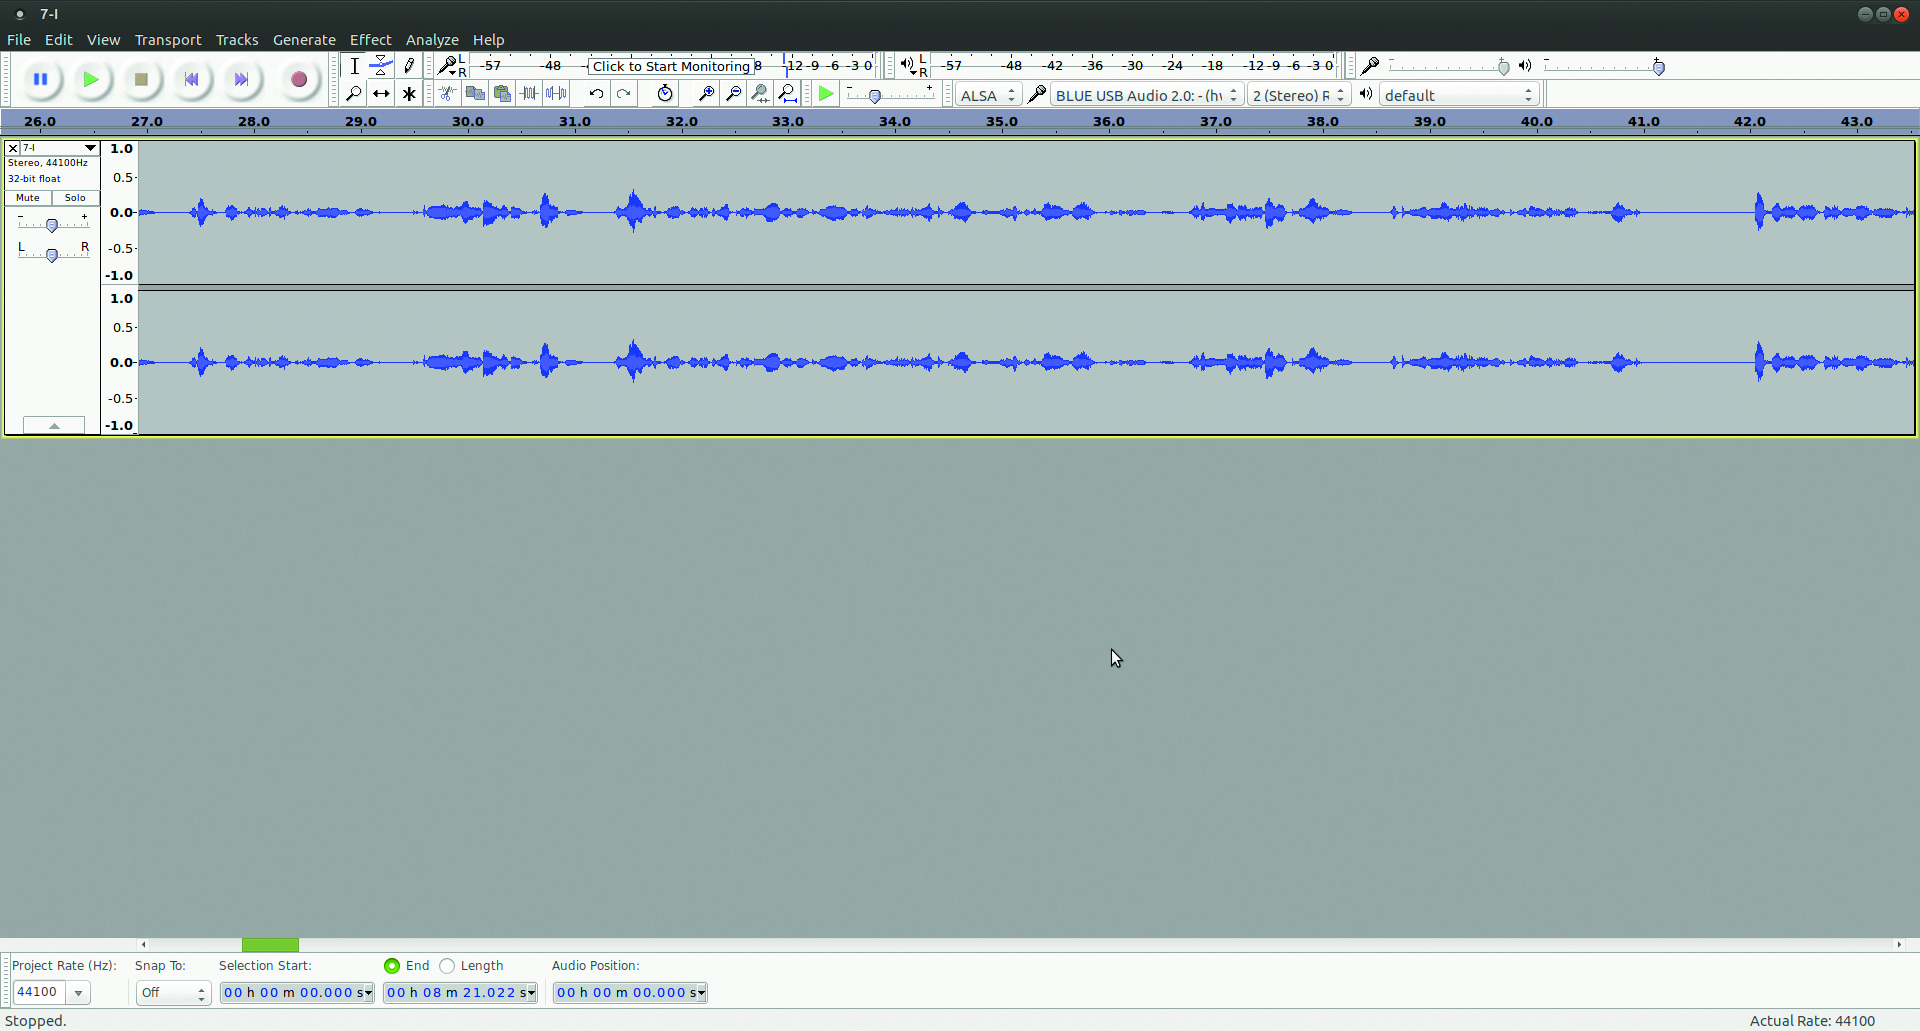
Although we’ll be exporting the audio files at a lower quality, we recommend recording at a minimum sample rate of 44.1 kHz. This is Audacity’s default setting, so you won't need to change anything.
Create a Podcast Machine: kit you'll need
- A microphone
- Speakers or headphones
- Audacity
- Google account
- Internet connection
>STEP-01: Get connected
Connect your speakers and microphone to your Pi. You can get away with using your TV’s built-in speakers via an HDMI connection, but connecting headphones to the 3.5 mm analogue port makes for a more private editing experience.
A USB gaming headset with a built-in microphone will do in a pinch, but we recommend a USB condenser mic for better quality voice recording. We’re fans of the Blue Microphones Yeti, but you can get good budget options such as the Blue Snowball iCE and Samson Go Mic for less than £50.
>STEP-02: Record your podcast
Install Audacity by opening a Terminal window and typing:
sudo apt-install audacity
Open the program, and make sure it is using the correct audio input and output devices by checking the device pull‑downs on the taskbar, or by opening Preferences from the Edit menu.
Before you start recording, we recommend writing a script or prompts to work from. If you stumble, just pause, go back a few sentences and start again – you can cut out the error later. For easier editing and processing later, it is often more convenient to break longer recordings into 10- or 15-minute chunks.
>STEP-03: Edit and process
Once you’ve finished recording, it’s time to edit out any errors and use a few effects to improve the recording’s quality.
To reduce background noise such as computer or fan hum, highlight a few seconds of audio with only background noise. Select Noise Reduction from the Effect menu and select Get Noise Profile. Then select your entire track, open Noise Reduction again, and hit OK.
To balance and amplify your recording if it’s too quiet, select the entire track and apply the Normalize effect using its default settings. Finally, go to File > Export Audio, and encode your recordings as MP3s – we recommend 96kbps joint stereo for voice.
>STEP-04: Create your blog
Go to drive.google.com and log in to the Google account you want to use. If you don’t already have a Google account, you can sign up for one on this page.
Go to blogger.com and sign in using your Google account. Create a Blogger or Google+ account. When the main Blogger interface loads, hit the Create New Blog button. Pick a name, custom blogspot URL, and theme.
To allow MP3 embedding, go to Settings > Other and switch the Enable Title Links and Enclosure Links settings to Yes. Now select Save Settings at the top right-hand corner of the screen.

>STEP-05: Upload your podcast
In Google Drive, create an appropriately named folder. Set the folder’s privacy to allow ‘anyone with the link’ to view the files in it. Upload your first MP3, right-click on it and select Get Shareable Link. Copy the link.
Return to Blogger and hit the New Post button. Give your podcast an appropriate title and description, using the Title field and Post Body respectively. In the Post Settings box on the right, select Links. Paste your MP3’s URL into the Enclosure Links field and give it a MIME type of audio/mpeg3. Hit Publish, and we're ready to go live.
>STEP-06: Launch your media empire
Go to Feedburner and sign in with your Google account. Paste your blog’s main URL (yourcustomurl.blogspot.co.uk) into the Burn A Feed box, tick ‘I am a podcaster’, and click Next.
Select the feed you want to use – we prefer the longer-established RSS option, but Atom works too. Feedburner will ask you to confirm the title and the address you want to use.
Your podcast is ready for subscribers, but you should click Next to fill in extra information for the iTunes podcast directory. Feedburner tells you what you need, including an image and a more detailed description, and can even provide listener stats.

Optimise analogue audio quality
The Pi’s headphone port can add unwanted background noise. To minimise this, set your mixer volume to 100 percent and use a good-quality power supply.
Get your Podcast listed for other folks
For extra exposure, list your podcast on online directories. The most important is iTunes, which you can you join here.


