
Kosmas is a fan of low-level programming and, when asked to write a paper on how computer programming has evolved over the decades, he decided to dig deep and go the extra mile.
“As I was researching about the beginnings of personal computers, I came across the Kenbak-1, and apparently this was a quite well-documented system, with the original creator having a website that explained how it was made and how it worked,” Kosmas explains. “When I saw that, I immediately realised it would be really cool for my presentation. However, it is not easy to get one of these, and the recreation kits were not really viable for me either, so I decided to build my own.”
More Pico
At the time of creation, Kosmas was interested in using Pico due to the low price, and because he wanted to see more cool Pico projects in the world.
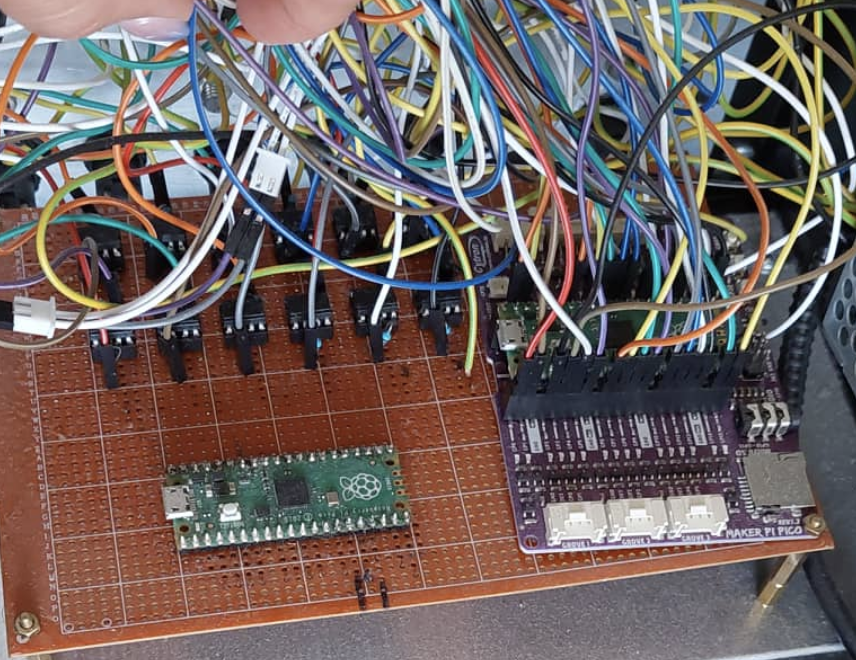
“Actually building the project was more difficult than I expected,” he says. “The case is basically a big metal box that I drilled some holes through and painted blue and was easy enough to create, but setting up the actual wiring was not easy. This project uses 15 push-buttons and 13 LEDs (one power LED connected to the power supply as an on/off indicator, and eight I/O and four function LEDs connected to the Pico), which all had to be confined to the small space of the case.
“Everything was also hand-soldered, so there were some issues with soldering something at this scale for someone as new to soldering as me… this gets me to how the project actually works. The Kenbak-1 (and, by extent, PicoKenbak) had twelve LEDs. Eight of the them were used for data I/O, and four of them were used for indicating that various functions were done, like clearing input, showing the current memory address, reading from memory, and stopping program execution.
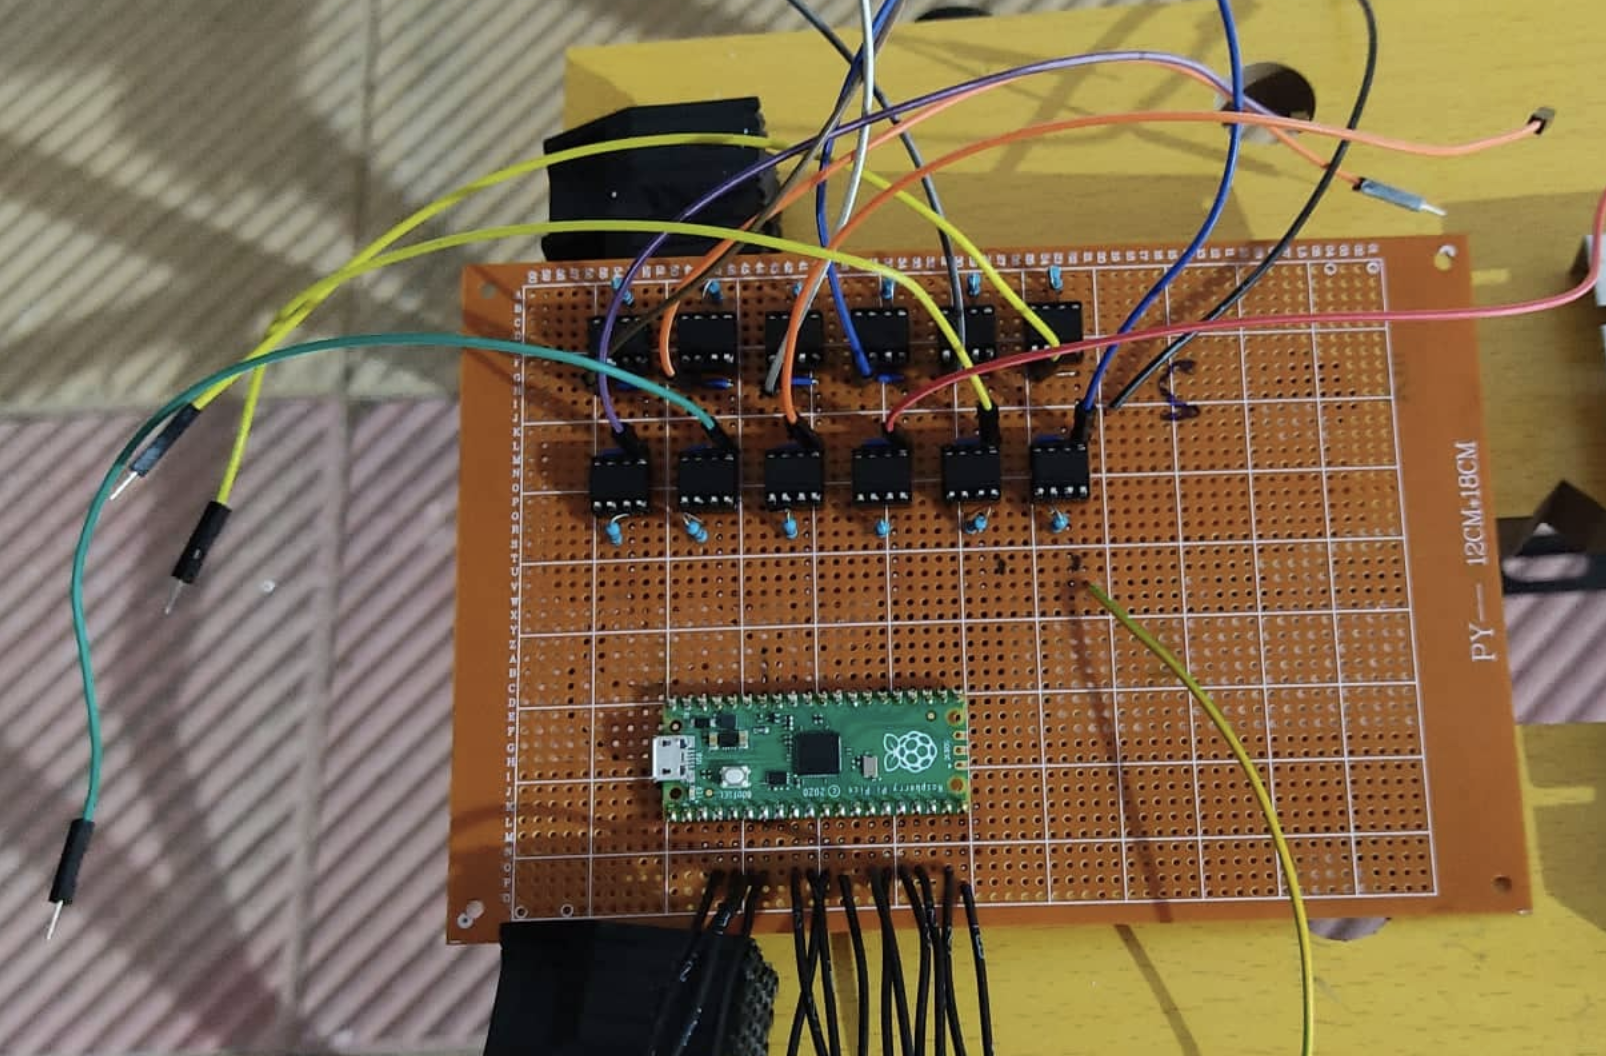
“Additionally, I had to use optocouplers to power the LEDs, to ease up power requirements on the Pico. There are also 15 push-buttons. Eight of those are used for inputting data to store into memory, and the other seven are used for functions. Clearing input (which I have wired to the Pico’s RUN pin), set/show memory address, read/store with memory, and start/stop program execution. This was actually a close one because, by the time I was done, I had used up every pin on the Pico.”
Emulation and more
Kosmas wrote an emulator in C, which handles all the original functions of the Kenbak-1.
“Programming is done the same way that it was done with the original Kenbak-1,” he explains. “The programmer uses the push-buttons to type an instruction byte in binary, and then stores the byte into memory. Program space can start at address 4 and end at address 127. By default, execution starts from address 4.”
In the future, Kosmas plans to update it with a Pico W and add some wireless functionality, such as executing code over a network. If you want to check out the emulator, the code is available online.


