Shooting the moon has been an obsession of James Mitchell’s for a very long time. After several failed attempts to get a clear photo from various cameras and lenses over the years, he decided “on a bit of a whim” to give it a go with a Raspberry Pi Camera Module.
The full article can be found in The MagPi 45 and was written by Lucy Hattersley
“I have been working on pushing the limits of the Pi camera for a while,” James tells us. One of his first pictures was a long exposure of a Lego figure, which won him the runner-up prize in an Adafruit competition. “I wanted to use my lenses to improve on that.”
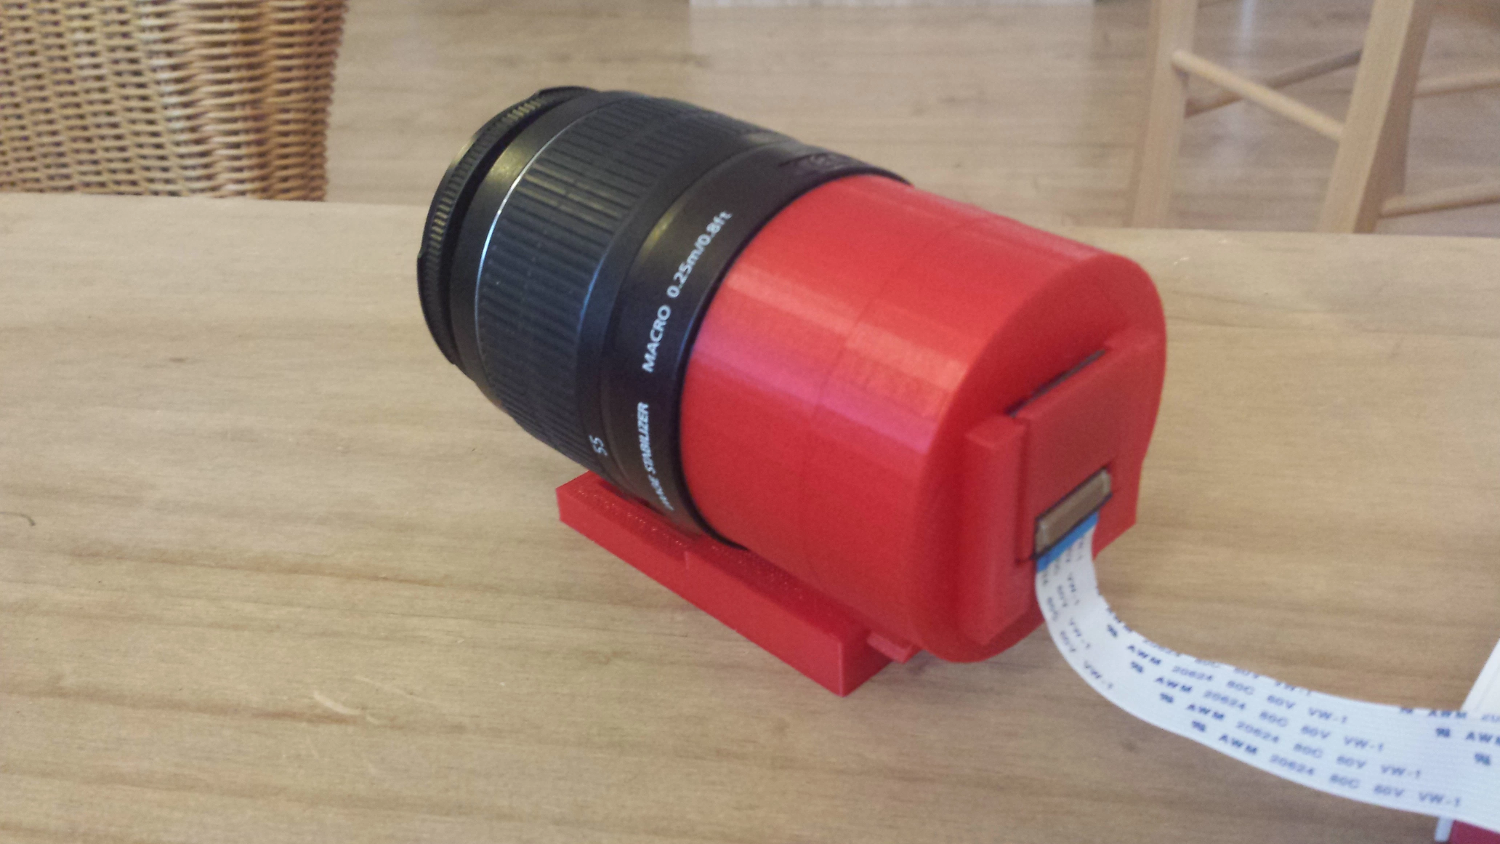
After discovering a design for a Canon lens adapter for the Pi by Charmlee, James got a 3D print made at his local Berlin printing cafe and was impressed: “Everything simply slots together. Actually quite a nice design, to be honest, but it only works with Canon EF (EOS) lenses.” He soon realised that using the adapter with the Pi Camera Module requires the removal of the latter’s tiny stock lens. “It really is simple… it just screws off. What might be considered difficult is that it has a little glue inside to stop it from moving. So I used a couple of pairs of pliers to remove it.” While this did buff the plastic slightly, the lens can go back on to protect the sensor when storing the camera.
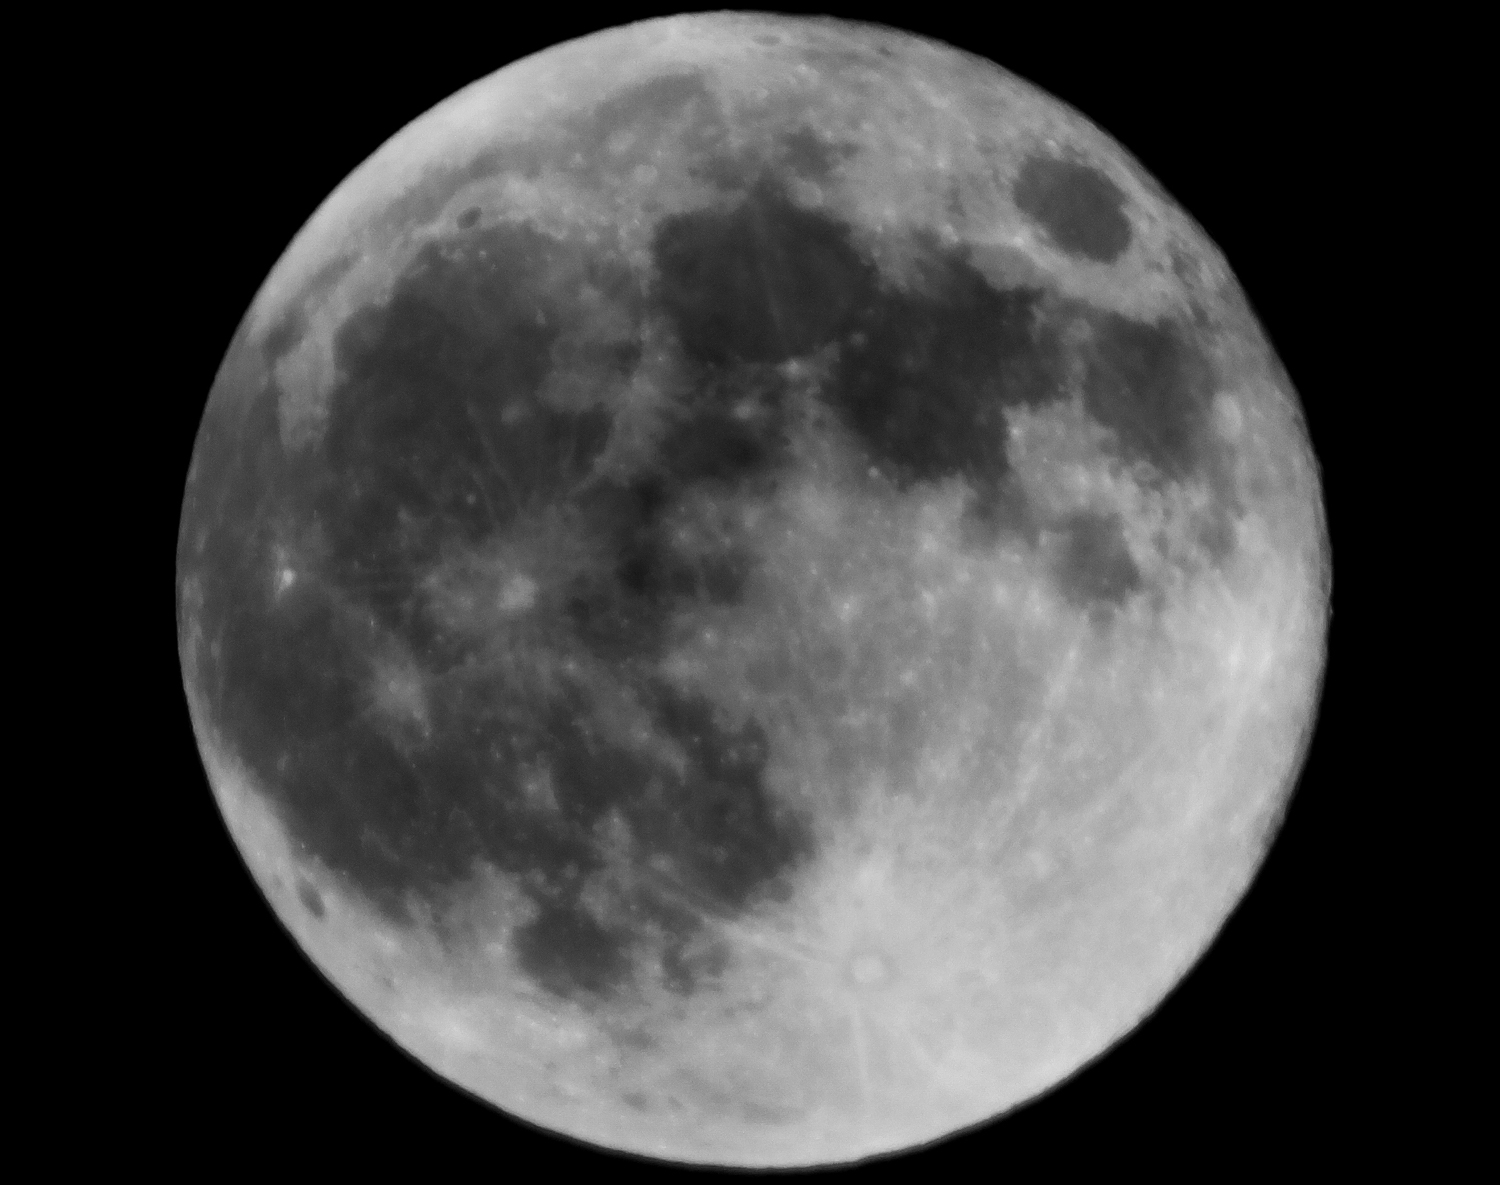
The Pi camera sensor can then be inserted into the 3D printed adapter, enabling it to be exposed directly to light coming through the attached Canon lens. Since the sensor only captures a small section of what the lens can see, it does so with 5 megapixels’ worth of detail. This led James to try shooting a full moon from his Berlin balcony, using a 78-300mm lens, which resulted in a surprisingly detailed image of the cratered lunar surface.

Asked what camera settings he used, James replies, “I’m embarrassed to say I left it on auto. In fact, the command I used had no modifiers at all – raspistill -o moon.jpg. What I got really was a happy accident. Could I improve the picture with changing some settings? Absolutely!… I think I need to learn more about how the optics work. Maybe I could adjust the distance between the lens and the sensor to improve the sharpness.”
James admits that a DSLR would be better for taking a picture like this, “but only with a longer lens, something larger than 300mm, or even a telescope.” One peculiarity in his moon photo is the pink vignette around its edges, caused by light reflecting on a layer of the Pi camera sensor. He has since managed to reduce the effect by wrapping the camera adapter in black duct tape.
As well as being useful for astronomy images, James’s setup is ideal for any type of photo or video requiring a high level of zoomed-in detail. “You could use [it] to monitor birds’ nests that might be quite a distance away [or for] macro photography with an assortment of lenses and adapters.”