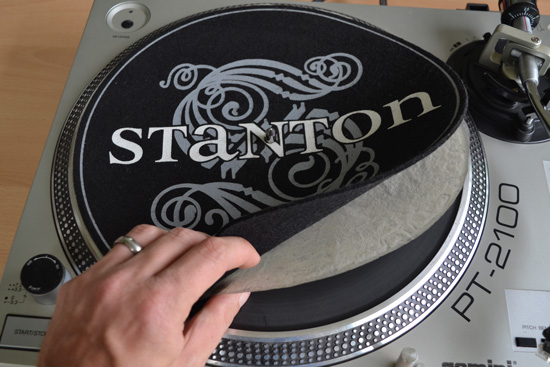
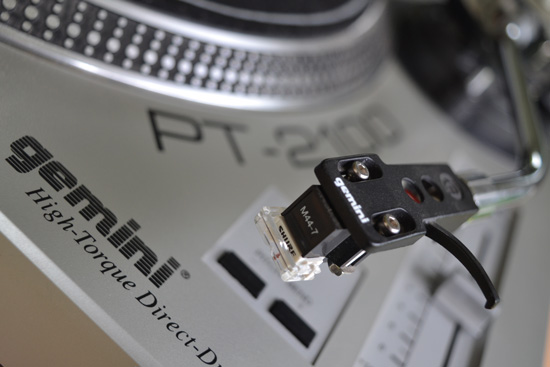
Pi Deck is a set of vinyl turntables used to play digital music files. It enables DJs to mix and scratch virtual songs, with real life decks.
Ever since he saw Breakdance: The Movie in 1984, Daniel James wanted to be a DJ. But he soon realised scratching expensive vinyl or carting it from venue to venue is far from ideal.
“Unless you are famous enough to have a roadie, large boxes of vinyl are heavy and impractical,” he tells us. There’s also the problem that a lot of music is not being released on analogue vinyl, despite the huge resurgence of interest in the format.
Pi Deck: Using a Raspberry Pi to add Digital Playback to vinyl turntables
Digital Vinyl Systems (DVS) has long provided an alternative. They allow you to DJ using digital music files and software while letting you benefit from the feel of a turntable. You simply place a special vinyl record on a standard turntable and the system will read the position of the stylus from a timecode. This is used to play back a digital music file at the same point in time – but these systems can be hugely expensive.
Not now. Daniel and his colleague Chris Obbard at 64 Studio put a Raspberry Pi 3 alongside a standard vinyl deck, eliminating the hassle and expense of hooking digital decks to a laptop. They figured that all you need is a USB stick packed with music files. “As long as there is low latency in both directions of travel, you can make effects such as rubbing the kick drum beats, scratching and backspins sound, feel and look realistic,” Daniel says.
Motivated by a desire to show that low latency applications could work reliably on small and inexpensive ARM devices such as the Pi, Daniel and Chris got to work. They used xwax, an open-source DVS for Linux capable of playing MP3, FLAC, and AAC files, among others. “But because xwax isn’t easy for people new to GNU/Linux to set up the system optimally, we created a ready-made Debian image for the Raspberry Pi that is specialised for this one application,” reveals Daniel. “It means DJs don’t have to go through as many steps to get it running.”
Building a Pi Deck

The pair had tested Raspbian images and various kernels with hand-soldered audio hardware to create the inputs and outputs that they needed. “Then we tried a HAT sound card from audioinjector.net and some USB audio interfaces which include phono cartridge preamplifiers. These are needed because the stylus on the record outputs a signal at a very low level, compared to other audio devices.”
The greatest challenge was getting the audio interfaces to work with low latency since many of the known techniques are for PC architecture. “Interrupt tweaking doesn’t work the same way on the ARM architecture, for instance,” Daniel explains, “but switching to newer Linux kernels helped a lot.” The majority of the work involved configuring and scripting various programs to work smoothly together with minimal user input. “Most of the setup is done with shell script, which is easy to hack.”
A screen completed the package. Daniel and Chris decided to use the official Raspberry Pi seven-inch touchscreen. “We wanted something that would be easy to set up,” Daniel continues, “but the Pi Deck works with any compatible screen. If you’re not using a touchscreen, an ordinary mouse can be used to click the buttons. A QWERTY keyboard is useful for searching music titles.”
Since creating the Pi Deck last October, the pair have been excited at the level of positive feedback. Hearing about people using it across the world has been music to their ears. “People appreciate the low latency and stability,” Daniel concludes. “These are the crucial factors for any performance.”
Pi Deck: Quick Facts
- Daniel estimates a Pi Deck setup costs $182
- There is no soldering or modification to the turntable
- Audio Injector sound cards cost around £20
- A Serato CV02 control vinyl pressing is recommended
- The FLAC music format gives the best results
Using the Pi Deck digital turntable system
Step-01: Put the record on
Once Pi Deck is set up, place a control vinyl on the turntable, power up the Pi, and insert the USB stick. Waxed paper under a felt slipmat will reduce friction.

Step-02: Position the stylus
Put the stylus on the control vinyl and use your hand movements to find the first beat of the record. Cue this via the mixer headphones or the waveform display in xwax.

Step-03: Scratch away
From this point on, the control works just like an analogue vinyl record. You can back-cue and scratch the vinyl, for instance, pushing the record forward or in reverse.


