
Penk was looking to build upon his work with mechanical keyboards. “I’d learned not only how to build them from scratch, or mould and cast my own key caps, but also how to use a laser engraver to melt pigment onto key caps to print my own legends,” he says. “I recall staring at those low-profile key switches and thinking to myself, this could make a great retro-style computer”.
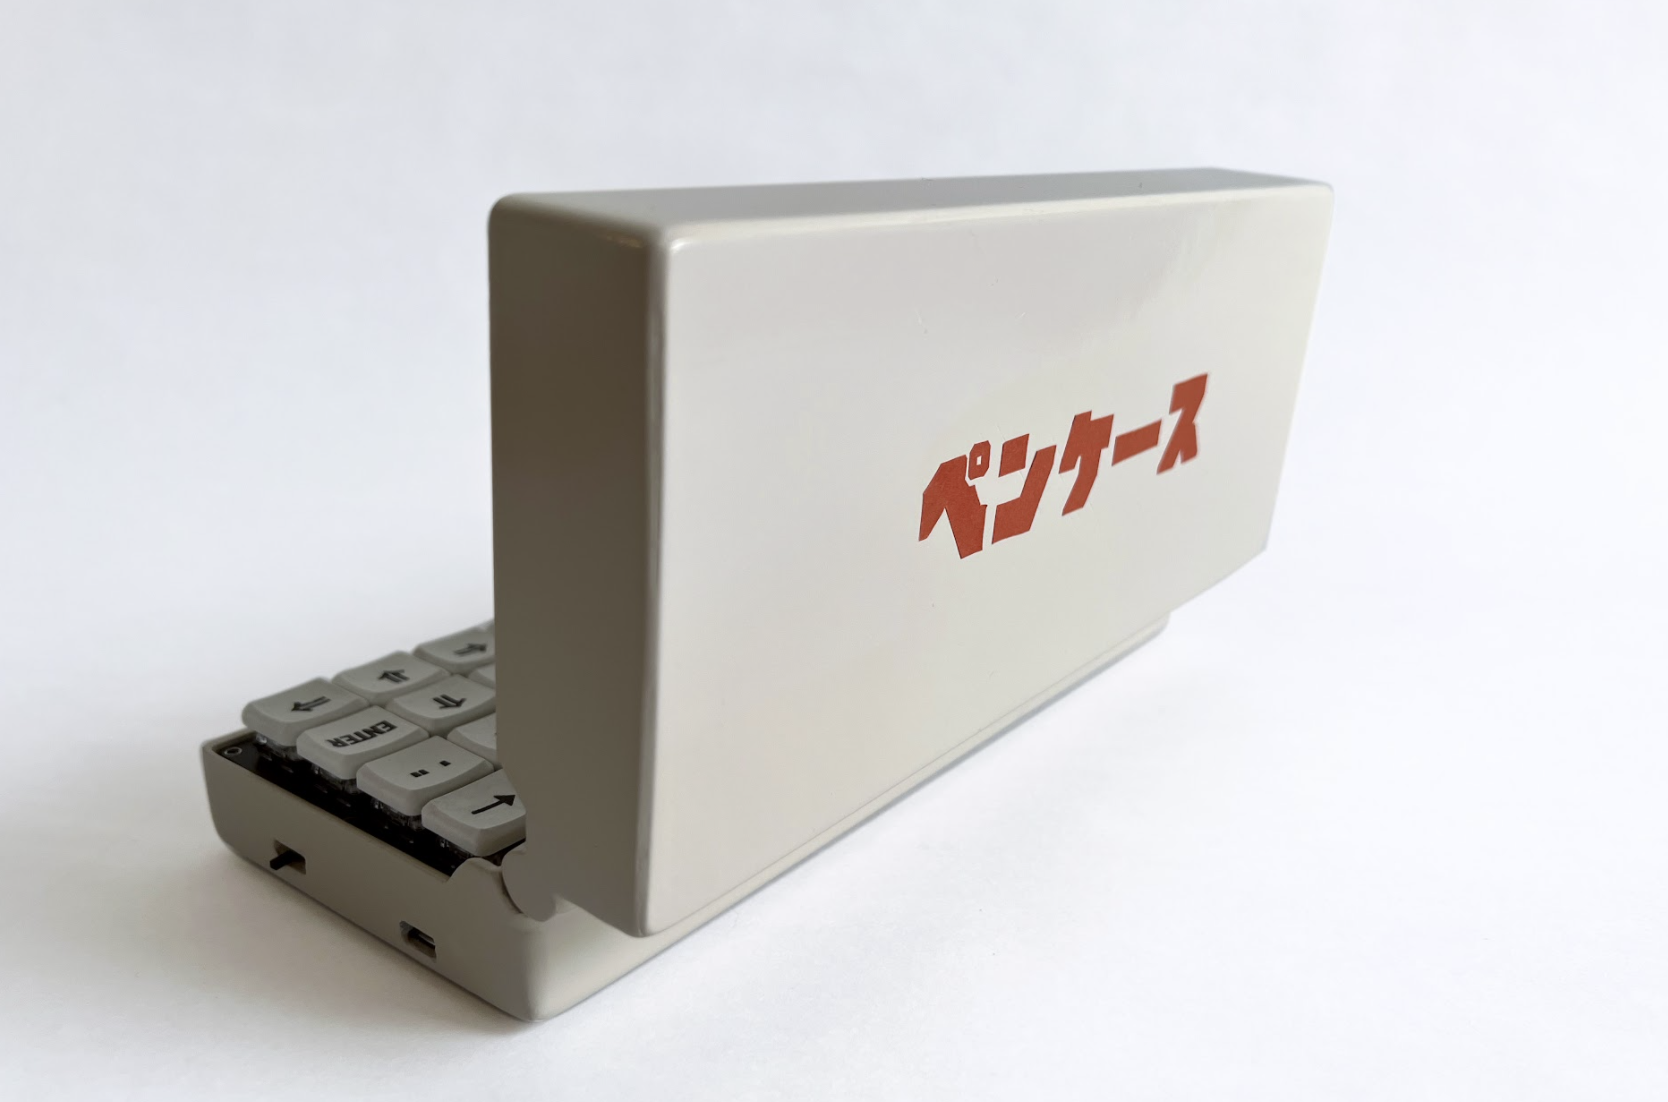
There were two things he wanted above all: compact physical dimensions and a nostalgic theme. “Back in the 1990s, gadget pencil cases were extremely popular among kids in Asia,” he says. “I figured if I were to pay homage to the past, what could be better than recreating the magical moment of opening a pencil case?” This thinking led to the project’s name: Penkesu is the Japanese word for ‘pencil case’, while happening to reference the maker himself.
Key to success
Identifying the appropriate components proved relatively easy. “Since this project started with the keyboard, finding the other parts was fairly straightforward,” Penk affirms. At first, this meant looking for a screen to match the size of his 48-key mechanical keyboard, and it led him to choosing a 7.9-inch touchscreen display.
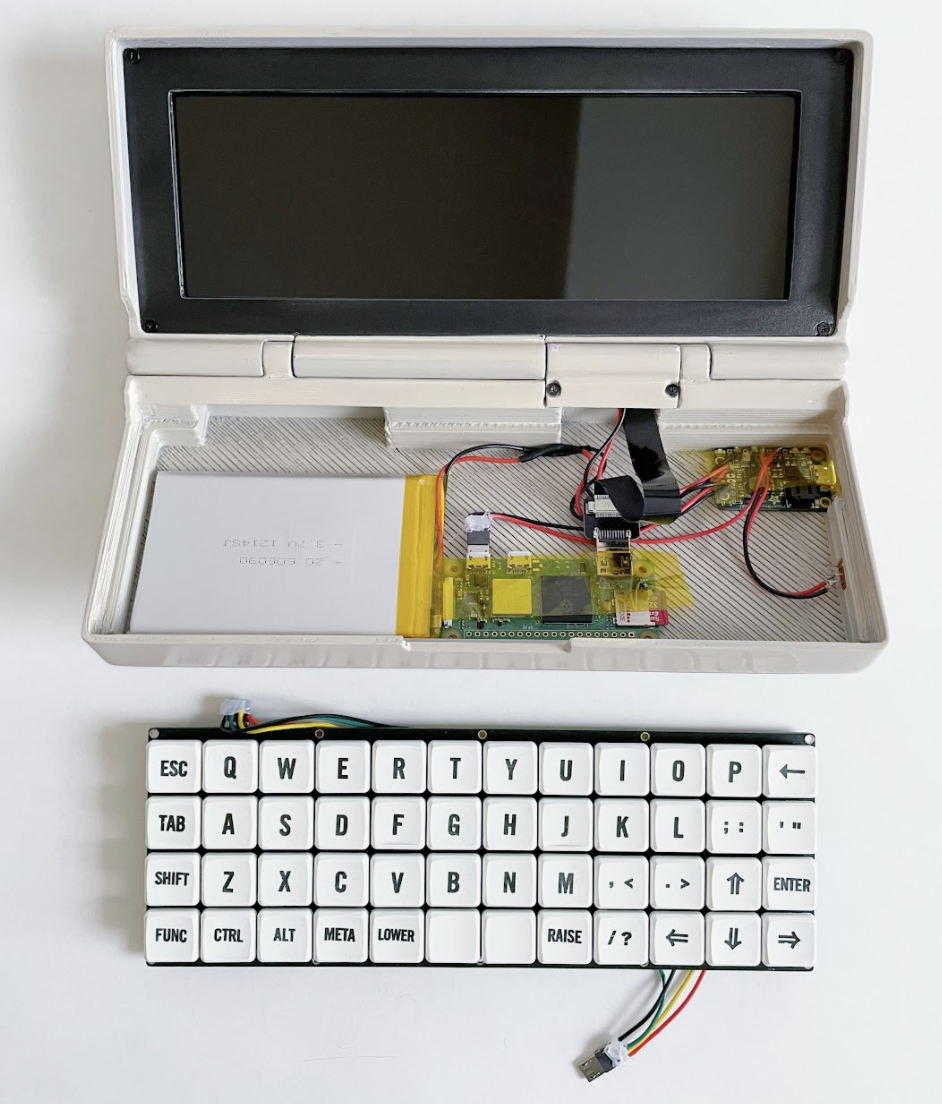
He then opted for a Raspberry Pi Zero 2 W computer. “It was a natural fit,” he says. “Looking back at its predecessors, you will find that there’s virtually nothing to complain about except to marvel at the wonders of modern technology.” The rest of the components included a LiPo battery, some diodes, and a keyboard-controlling Arduino Pro Micro, but designing a 3D-printable case was the greatest challenge.
Making a good case
“The weight distribution was not an easy task,” Penk explains. “The screen is mounted in a rather top-heavy fashion, so it took me some time to properly design the chassis and place counterweights so that it would not tip over when opened at its maximum angle.” This was achieved by gluing a thin metal sheet to the base. “The end result is a low-centre-of-gravity, stable, and satisfyingly clicky device,” he adds.
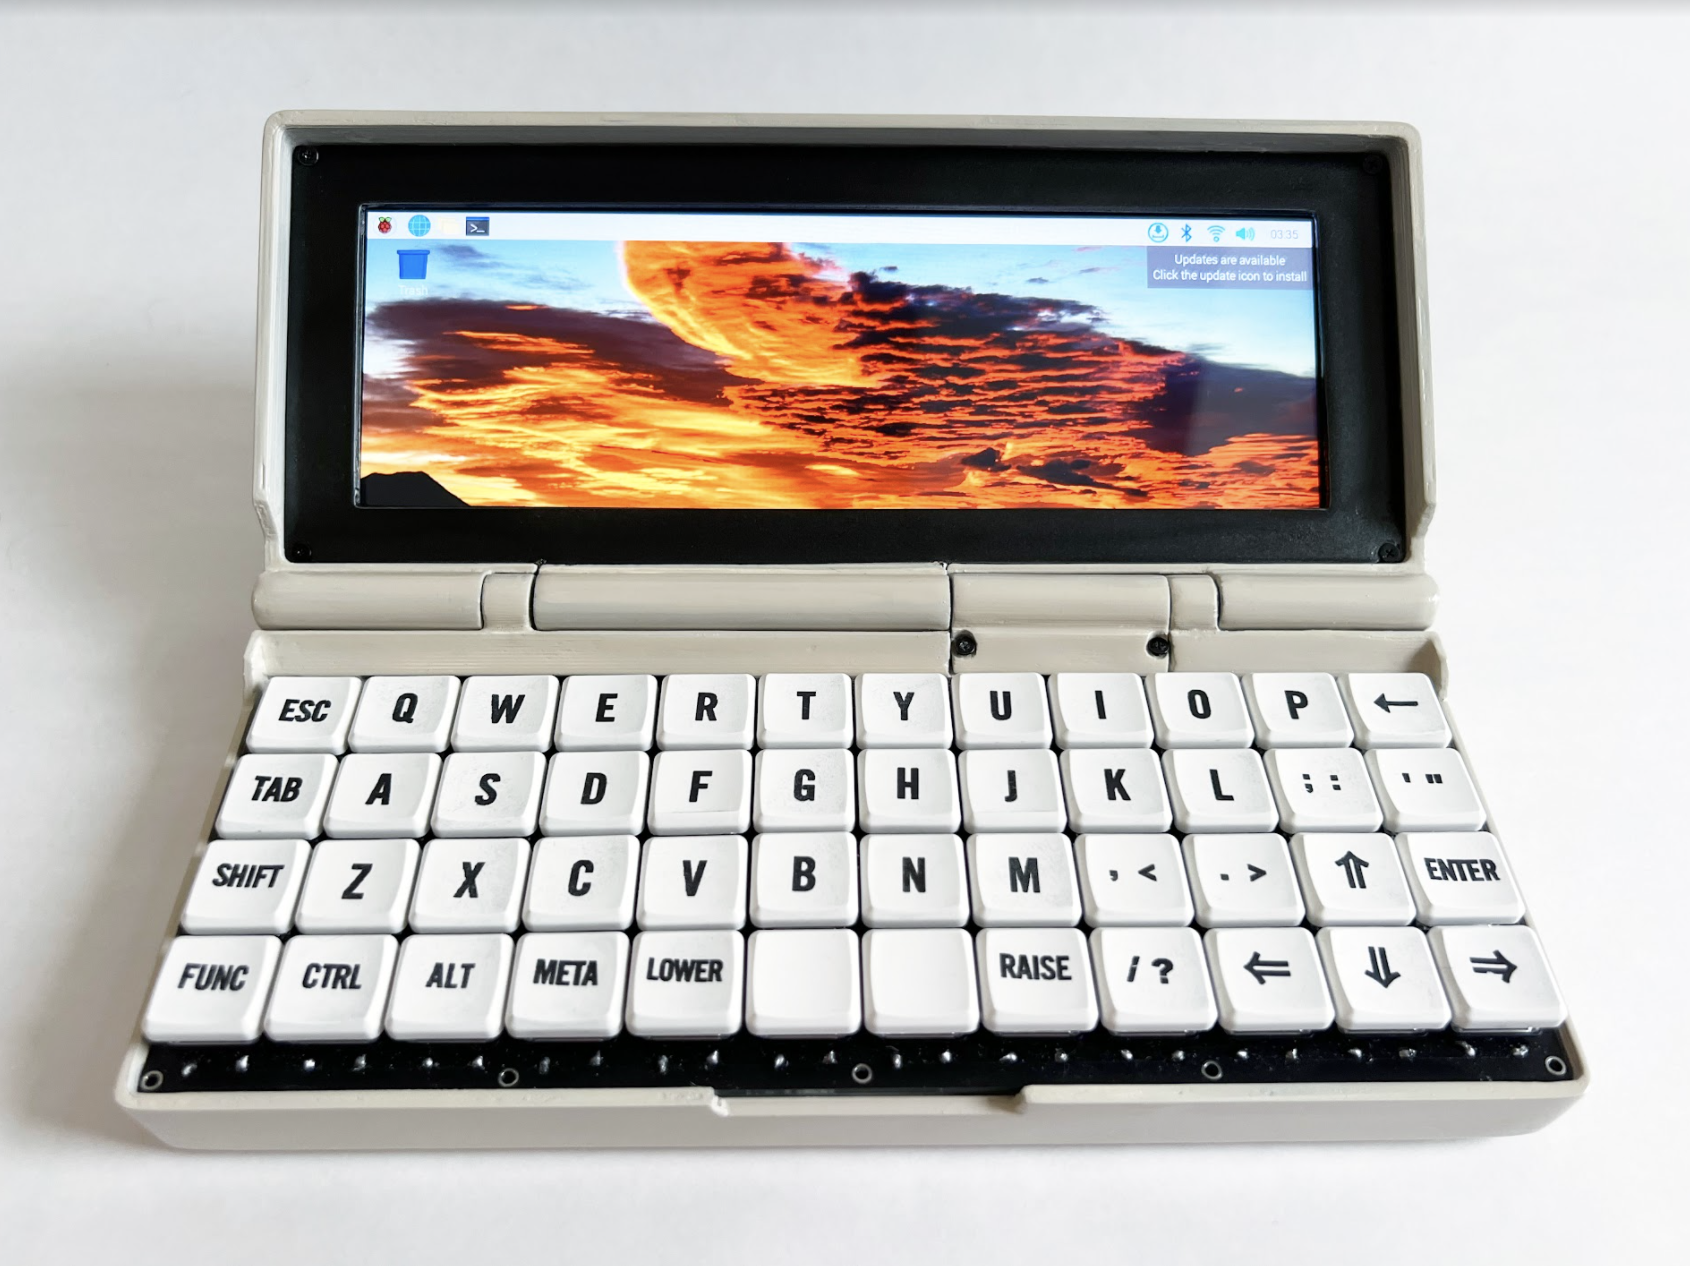
Interestingly, the project also uses a set of replacement hinges designed for a Game Boy Advance SP console, making the device easy to open and close while adding extra retro goodness. “What could be more nostalgic than using genuine console parts from the 1990s?” he asks. It was then a matter of connecting everything up – in this case, largely plugging the components together – and getting Raspberry Pi to run Raspberry Pi OS for an instant mini-machine.
“Everyone knows that when it comes to presenting your build to the interweb community, cable management is the most important thing, and I’m terrible at soldering,” he laughs, before adding that in a world of supply chain disruption, it also made the project more viable. “I’m now experimenting with the mouse keys feature of QMK firmware to see if I can rely on the keyboard more when using Raspberry Pi OS,” he says, explaining that he’s not finished with this project just yet.


