
Christmas is here, and that means it’s time to decorate. Over the years, we’ve made Christmas tree stars, normal tree lights, and even a light-up card you can make out of the cover of The MagPi issue 52.
This year, we’re heading back to the tree lights to give them an extra ability: voice-controlled lights! We’ll be doing this using a slightly easier method than other audio services, so you won’t need to sign up to an Amazon or Google developer account. Let’s get festive!
You'll need
Flexible NeoPixel lights
USB microphone
Python SpeechRecognition library
Push-button 5V power supply (batteries or PSU)
220 Ω resistor
smartlights.py code - download the full code from magpi.cc/SmartXmas
The right lights
For our specific build, we’re using 3m of RGB NeoPixels with 30 LEDs per metre. You can find the ones we used here: magpi.cc/iP97nc. These may not be the right lights for you, though. While we think 144 lights per metre is a bit much, the 60 lights per metre version would work well wrapped around a tree or installed on some other furniture. You may also consider getting RGBW LEDs for a brighter (and easier to program) white light effect if you desire.
Install the software
For the voice control and NeoPixels, we need to install a few extra Python libraries to Raspbian. First, install SpeechRecognition by opening the Terminal and typing:
sudo pip3 install SpeechRecognition
Then we need to install PyAudio and a FLAC encoder so that Raspberry Pi can hear what you’re saying and record it. Do it with: sudo pip3 install pyaudio sudo apt install flac
Plug in a microphone and make sure Raspbian is using it as an input device (you may need to right-click on the volume icon in the top right to do so). Then run the test script:
python3 -m speech_recognition
It will ask you to speak a word and it should return what you said. Finally, install the NeoPixel libraries with:
sudo pip3 install rpi_ws281x adafruit‑circuitpython-neopixel
Top tip: speech-recognition troubleshooting
If you’re having trouble with the test for the SpeechRecognition library, head here to troubleshoot: magpi.cc/RgpLyc.
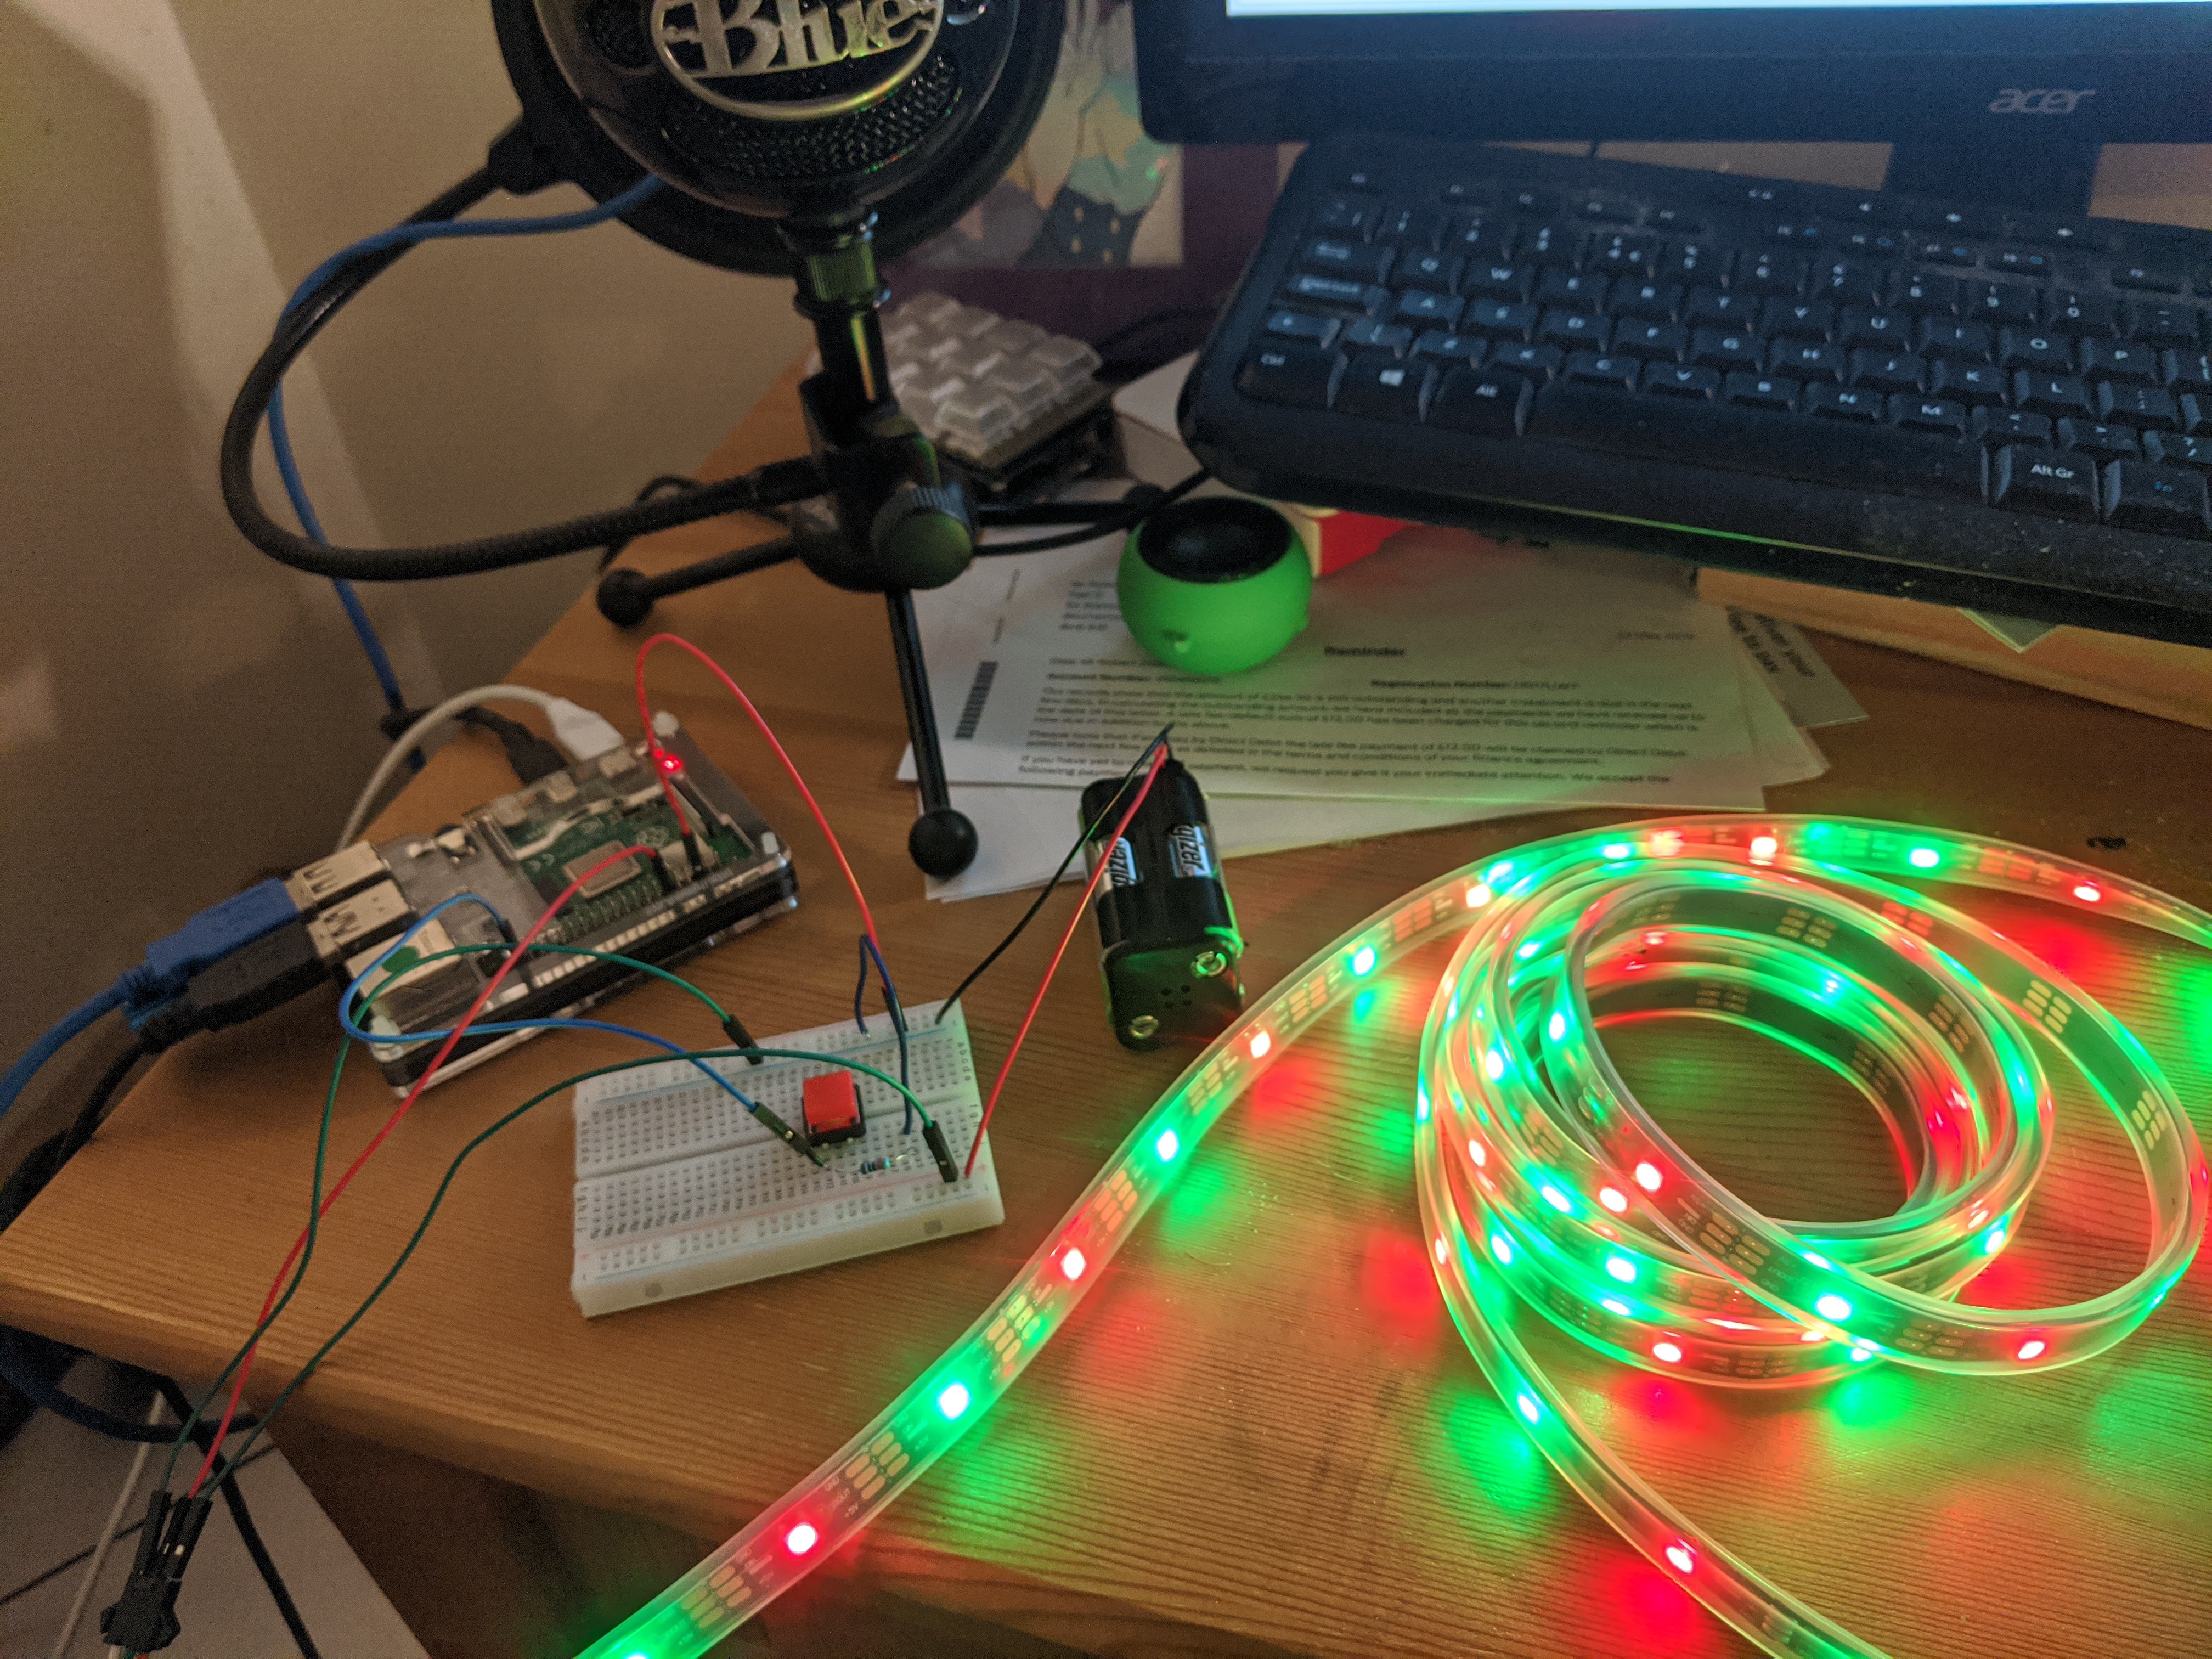
Build the circuit
Build the circuit using the Fritzing diagram as a guide (Figure 1, overleaf). A Raspberry Pi can only power a handful of NeoPixel LEDs safely at a time, which is why you need an external power supply to power the LED strip. Four rechargeable AA batteries will get you the roughly 5 V you need. However, if you have a spare 5 V power supply and a jack to use, that will work just as well, if not better.
The button is installed so we can activate the voice commands – it’s much easier than adding a trigger word like on a home voice assistant.

Test your lights
Once the circuit is all wired up, test your NeoPixels using the neopixel_rpi_simpletest.py script (if you can’t find it on your Raspberry Pi, head here: magpi.cc/Pci4iN).
Change the number of NeoPixels to your requirements and run the script. If the colours seem off, you may need to change the ORDER = line from neopixel.GRB to neopixel.RGB – or neopixel.GRBW or neopixel.RGBW if you have an RGBW strip of NeoPixels.
This is also a good chance to make sure your circuit is properly wired up – check the grounds, the specific GPIO pins used, and whether or not it’s powered properly.
Tweak the code
Download or type out the code listing for this tutorial – smartlights.py. This code was specifically tailored to our build, so you may need to make some changes to the code: specifically, the number of NeoPixels in your circuits, the type of NeoPixels (RGB/GRB/RGBW/GRBW), and the GPIO pins you’re using for the lights and button if you modified our circuit.
Save the file, open up the Terminal, and enter:
sudo nano /etc/profile
Add this line to the end of the file:
sudo python3 /home/pi/smartlights.py &&
This will start the script automatically whenever you turn on your Raspberry Pi.
Explaining speech recognition
The speech recognition part of the code is remarkably simple, and is mostly handled by the speech recognition library. It’s imported as sr in the script, and we use it to listen in on the microphone when required. Once a phrase has been said, it sends an audio file to Google Speech Recognition to be analysed, which is the value variable in our code.
We use this value variable to check against our if statements – you’ll notice we haven’t capitalised ‘lights on’ or ‘lights off’, but we have done for ‘Merry Christmas’ as it returns the value in that way. If you plan to add more phrases, you may need to experiment with them.
Adding trigger phrases
We’ve tried to keep this very simple, including trigger words as part of if statements. To add one, all you need to do is add an extra if statement to the loop. Say you want to add the term ‘happy holidays’, you’d do so like this:
if value == 'happy holidays': strip.fill((255,0,0) strip.show()
In this example, we make the lights turn bright red.
Custom light patterns
The basics of setting LED colours with NeoPixels involves telling the NeoPixels which red, green, and blue (RGB) values to use, from 0 (off) to 255 (maximum). In the previous step, we set red/R to 255 for full red. You can make all three 255 for white. Check out this colour chart to find colour values.
For more complex lights (alternating colours, rainbow effects, etc.) you’ll need to create a specific function that executes the effect. Some of these can be quite complicated, so we suggest checking the examples and docs for the NeoPixel library if you have an idea you’d like to try.
Top tip: RGBW code
With RGB NeoPixels, you only need to program three variables: red, green, and blue. With RGBW ones, you’ll need to add a fourth, e.g. (255,0,255,255).
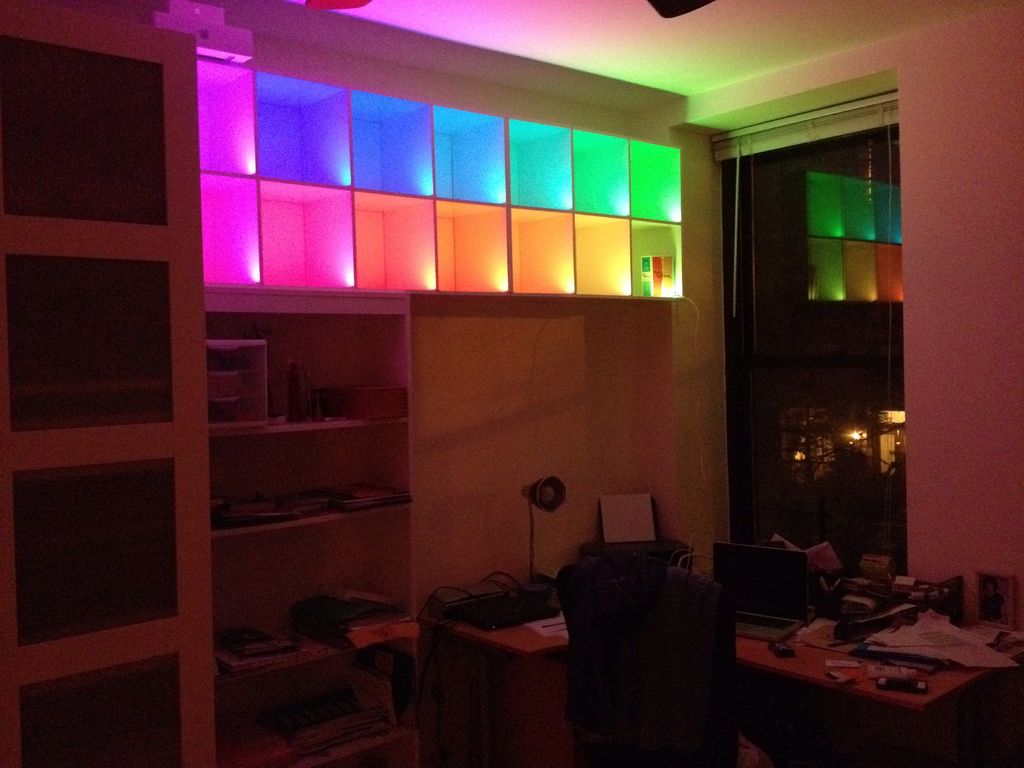
Install your lights
Once you’ve perfected your lights and voice control, it’s time to put the lights up! We like to wrap ours around the tree, making sure there’s easy access to change any batteries. You may need to add some clips to the tree as well.
If you plan to stick them to other furniture, you may need to make sure you have a temporary solution, like Velcro with sticky backs, so you can easily add and remove them at the start and end of the festive season.
Light up your tree!
It’s time to do the final test of your lights and turn them on! Test out the voice control, and maybe think of moving the microphone position around. With some really long wires, you can also put the button to activate the speech recognition in a place that’s easy to reach. At the end of the day, you don’t have to turn the lights off, either: you just need to say ‘lights off’.
Adding sound and more
One extra feature you might consider is sound output, which can be handled with Pygame. For some voice keywords, you could have lights sync up to classic Christmas songs, carols, or whatever you choose.
We suggest making it so the song only plays through once before going back to normal, though, to avoid incurring the wrath of the people you live with. Last year we create a tree-topper star – you can easily add some NeoPixels to a 3D-printed star like this and have the system control it as well!
Happy Holidays!
We really hope you enjoy making this project and, even if you don’t celebrate Christmas, we hope you think of it as a great introduction to voice control with Python. From all of us at The MagPi, Happy Holidays and a Happy New Year!
PS: don't forget to share your cool Christmas makes with us on Twitter or Facebook. We might even feature them in The MagPi!
Looking for more projects for the festive season?
How about a GPIO Christmas Tree? Make a Harry Potter fan very happy with this Magic Wand that really makes things move. Entertain the family with this Python-based quiz. Impress them with this unexpected party popper launcher and by serving up festive cocktails courtesy of your Raspberry Pi butler.


