Daniel’s Kodak Brownie camera Raspberry Pi project grew from a previous effort in which he placed a pinhole webcam inside a powder compact case.
“The Box Brownie project was essentially a repeat of that design but with a normal lens instead of a pinhole, a real camera case, and improved software to enable a shutter button. Ideally, it would look unchanged from when it was shooting film.”
When Kodak unveiled its Box Brownie in 1900, it did so with the slogan ‘You press the button, we do the rest.’ The words referred to the ease-of-use of what was the world’s first mass-produced camera. But it could equally apply to Daniel Berrangé’s philosophy when modifying it for the 21st century. “I wanted to use the Box Brownie’s shutter button to trigger image capture, and make it simple to use,” he tells us.
Kodak Brownie Camera: Webcam woes
At first, Daniel looked for a cheap webcam, intending to spend no more than the price of a Pi Zero. This didn’t work out too well. “The low-light performance of the webcam was not sufficient to make a pinhole camera so I just decided to make a ‘normal’ digital camera instead,” he reveals.
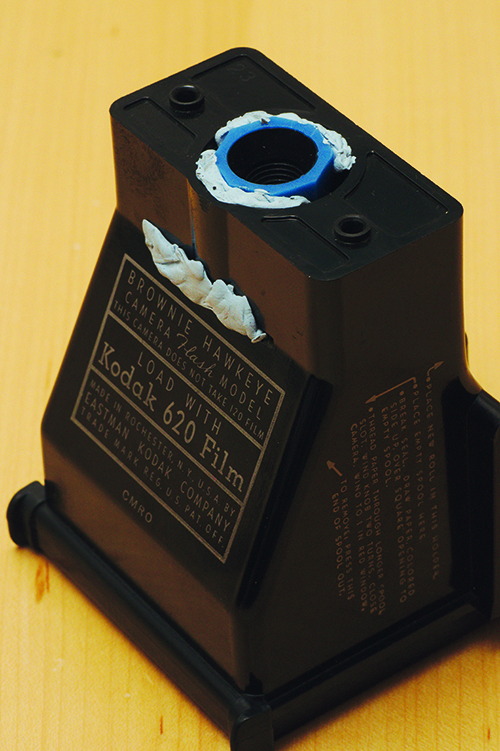
To that end, he began removing some internal components from the Box Brownie. “With the original lens removed, the task was to position the webcam’s electronic light sensor (the CCD) and lens as close to the front of the camera as possible,” Daniel explains. “In the end, the CCD was about 15 mm away from the front aperture of the camera, giving a field of view that was approximately the same as the unmodified camera would achieve.”
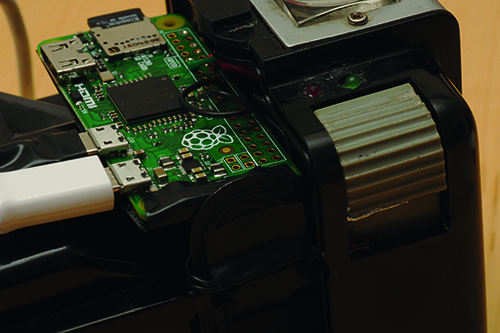
It was then time for him to insert the Raspberry Pi, upon which was a custom ‘init’ binary that loads a couple of kernel modules to run the webcam, mount the microSD file system, and launch the application binary. Here, Daniel found he was in luck. “I’d noticed that the size of a 620 film spool (63 mm) was effectively the same as the width of a Raspberry Pi Zero (65 mm), so it could be held in place between the film spool grips,” he recalls. “It was almost as if it was designed with this in mind.”
Kodak Brownie camera: Shutter success
In order to operate the camera, Daniel had to work on the shutter button. “The Box Brownie’s shutter button is entirely mechanical, driven by a handful of levers and springs,” Daniel explains. “First, the Pi Zero needs to know when the shutter button is pressed and second, the physical shutter has to be open while the webcam is capturing the image. Rather than try to synchronise image capture with the fraction of a second that the physical shutter is open, a bit of electrical tape was used on the shutter mechanism to keep it permanently open.”
Daniel made use of the Pi Zero’s GPIO pins to detect the pressing of the shutter button. It determines if each pin is at 0 or 5 volts. “My thought was that I could set a GPIO pin high to 5 V, and then use the action of the shutter button to short it to ground, and detect this change in level from software.”
This initially involved using a pair of bare wires and some conductive paint, although the paint was later replaced by a piece of tinfoil. But with the button pressed, the GPIO pin level goes to zero and the device constantly captures still images until the button is released. All that’s left to do is smile and take the perfect snap.
Step-01: Power up
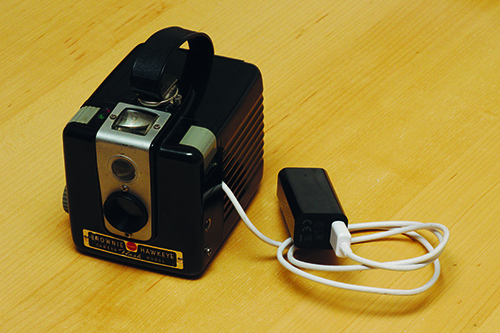
The camera is powered from a standard USB power bank, so it needs to be plugged in. Upon powering up, it loads the Linux kernel and the custom-written application, illuminating the red LED.
Step-02: Press the shutter
The user employs the original viewfinder mirror to centre the subject to be captured, then presses the shutter. The CCD chip has a similar field of view to the unmodified Box Brownie.
Step-03: Save the images
A piece of tinfoil glued to the shutter button short-circuits two wires, telling the webcam to capture images. Photos are captured one-per-second and saved to the Pi Zero’s microSD card.


