
Toy camera
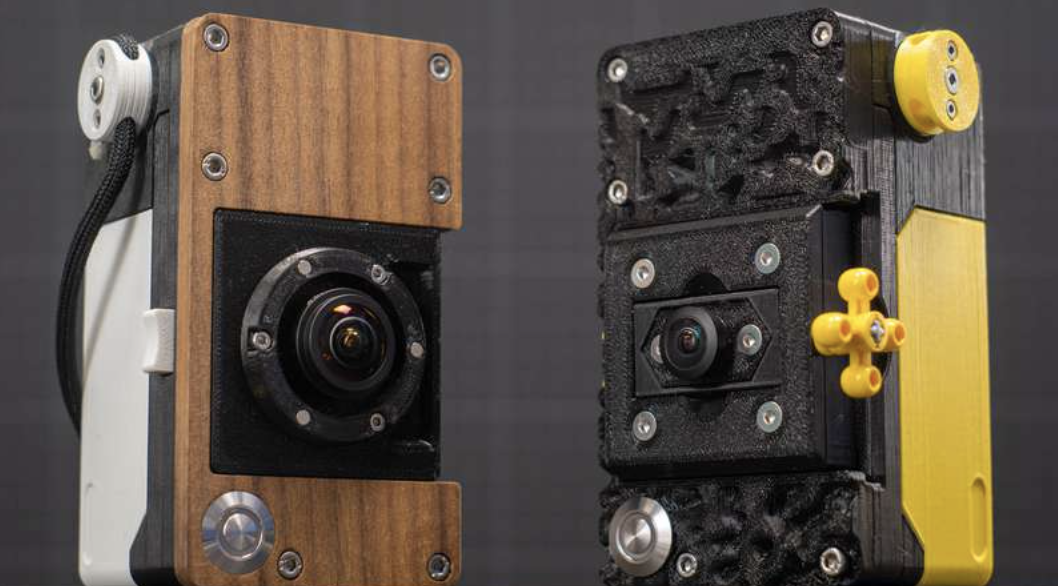
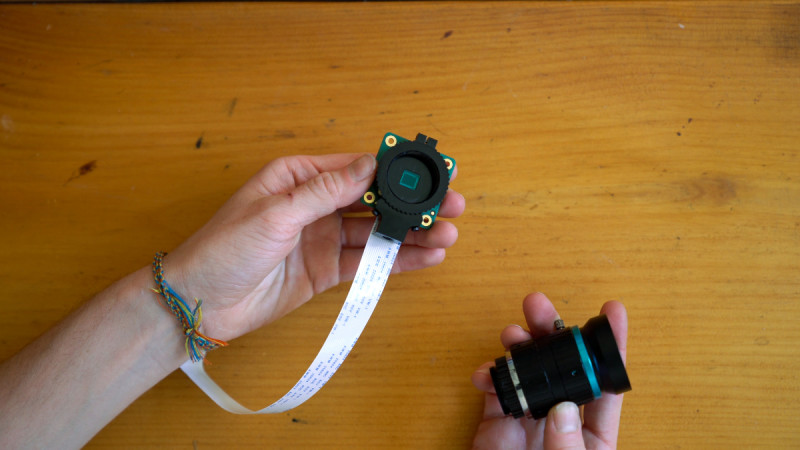
The Raspberry Pi High Quality Camera can be used with the CS mount and lenses, but it’s not the only option. As maker Volzo explains, S-mount lenses (ideal for machine vision and infra-red photography) can also be used, which is what he chose for this Raspberry Pi Zero build designed to add zany features and introduce unpredictable effects to digital photography – something more generally known as Lomography. Depending on your level of make-ability, you can either use an existing old camera body or another vessel to house your camera, or fashion one yourself, for which Volzo provides demos and links to ample alternative design ideas. His 3D-printed and CNC-cut version is held together with magnets as well as screws, while the viewfinder is from a pair of night-vision goggles. Exhorting others to rediscover the quirkiness of analogue photography, this project shows how much fun it can be to experiment when the basic Raspberry Pi camera and other parts are cheap enough to allow you the freedom to do so.
Instant photo printer

Adafruit’s Philip Burgess offers some great project ideas including this super means of printing out the results of your Raspberry Pi photography on demand, making use of the sort of $45 thermal printer more commonly found at a grocery till. The thermal photo printer works with any standard size Raspberry Pi and the retro photo results are just as good whether taken on a standard Camera Module 2 or the High Quality Camera Module. You’ll need an SD card for the Python code and Raspberry Pi OS, a large push-button, and a means of connecting this and the printer to Raspberry Pi, plus four AA NiMH batteries. A case for the setup could be as simple as a cardboard box or something fancier you design yourself or 3D-print from Thingiverse.
Face recognition smart clock
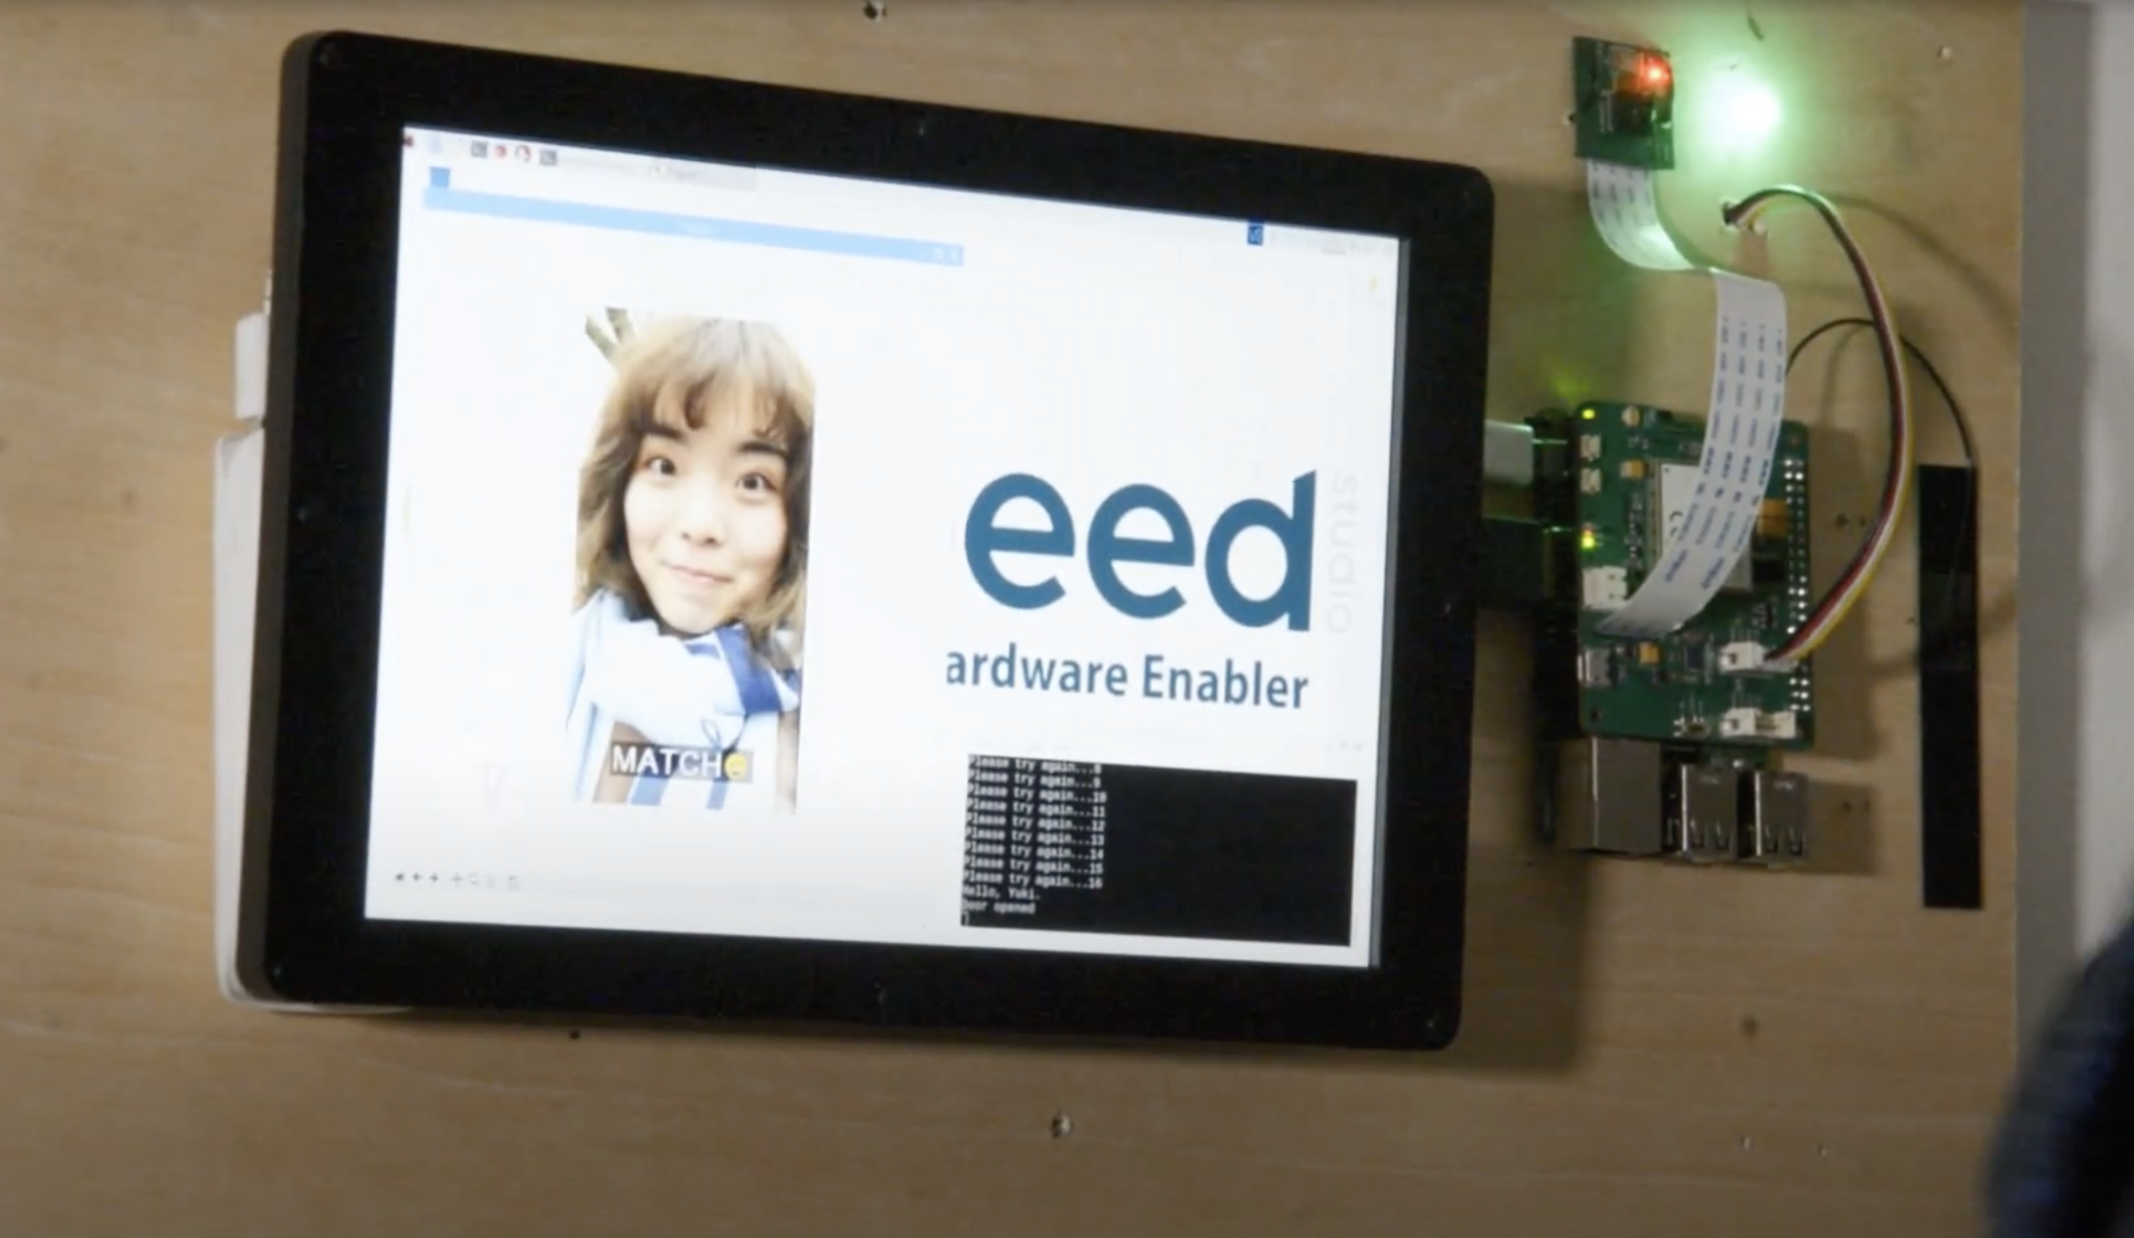
A great way to control access to a building is using the Raspberry Pi High Quality Camera and a smartphone to ascertain who’s calling. When a familiar face pops up on-screen, you can then grant that person access. This works really well – as long as you’re around to check your phone when a visitor notification pops up. For scenarios in which you aren’t around, you could train Raspberry Pi 3 or 4 to recognise friends’ faces and allow them entry. In Seeed Studio’s walkthrough, you take photos of people you want to let in, as per this amusing face-recognition setup along with Grove’s Relay To LTE HAT, a wireless antenna, and of course Raspberry Pi with the Camera Module attached. A text message is sent to the owner stating who was let in whenever someone is recognised and their door unlocked.
Hubble Pi
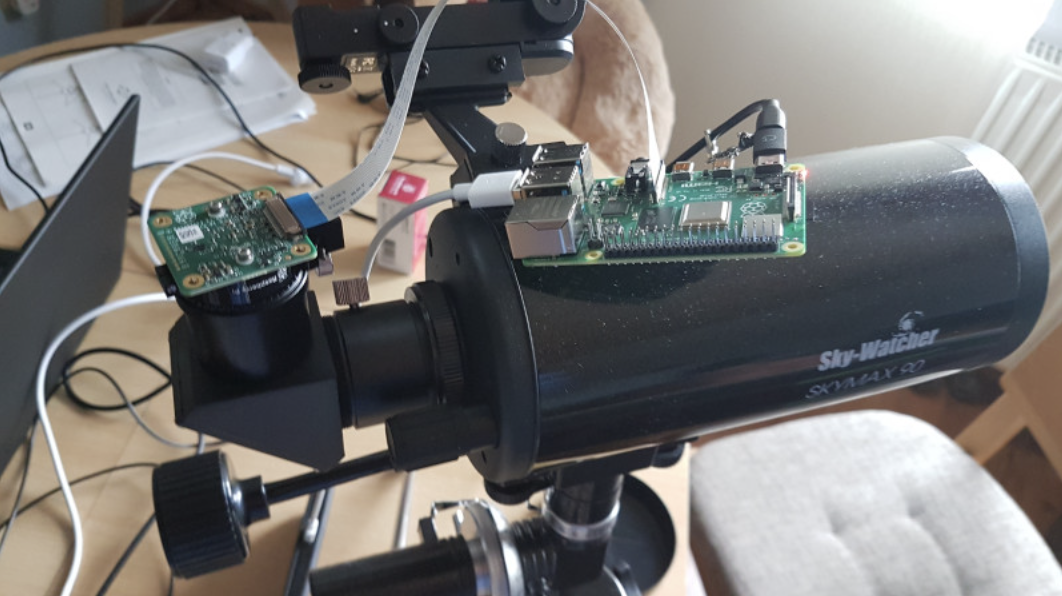
Observers of the night sky with even a basic telescope can use it in tandem with Raspberry Pi and the High Quality Camera plus a C-mount-to-telescope adapter to capture incredible astronomical sights. Hubble Pi pairs Raspberry Pi 4 with free astronomy software KStars which displays a live map of the night sky on the telescope’s display. Maker Santiago exploited the large lens of the HQ Camera and wrote Python code he calls AstroCam to control its shutter speed, the ISO, and exposure time. Bonuses include being able to automatically take multiple RAW photos and using either remote desktop or a touchscreen to trigger a shot.


