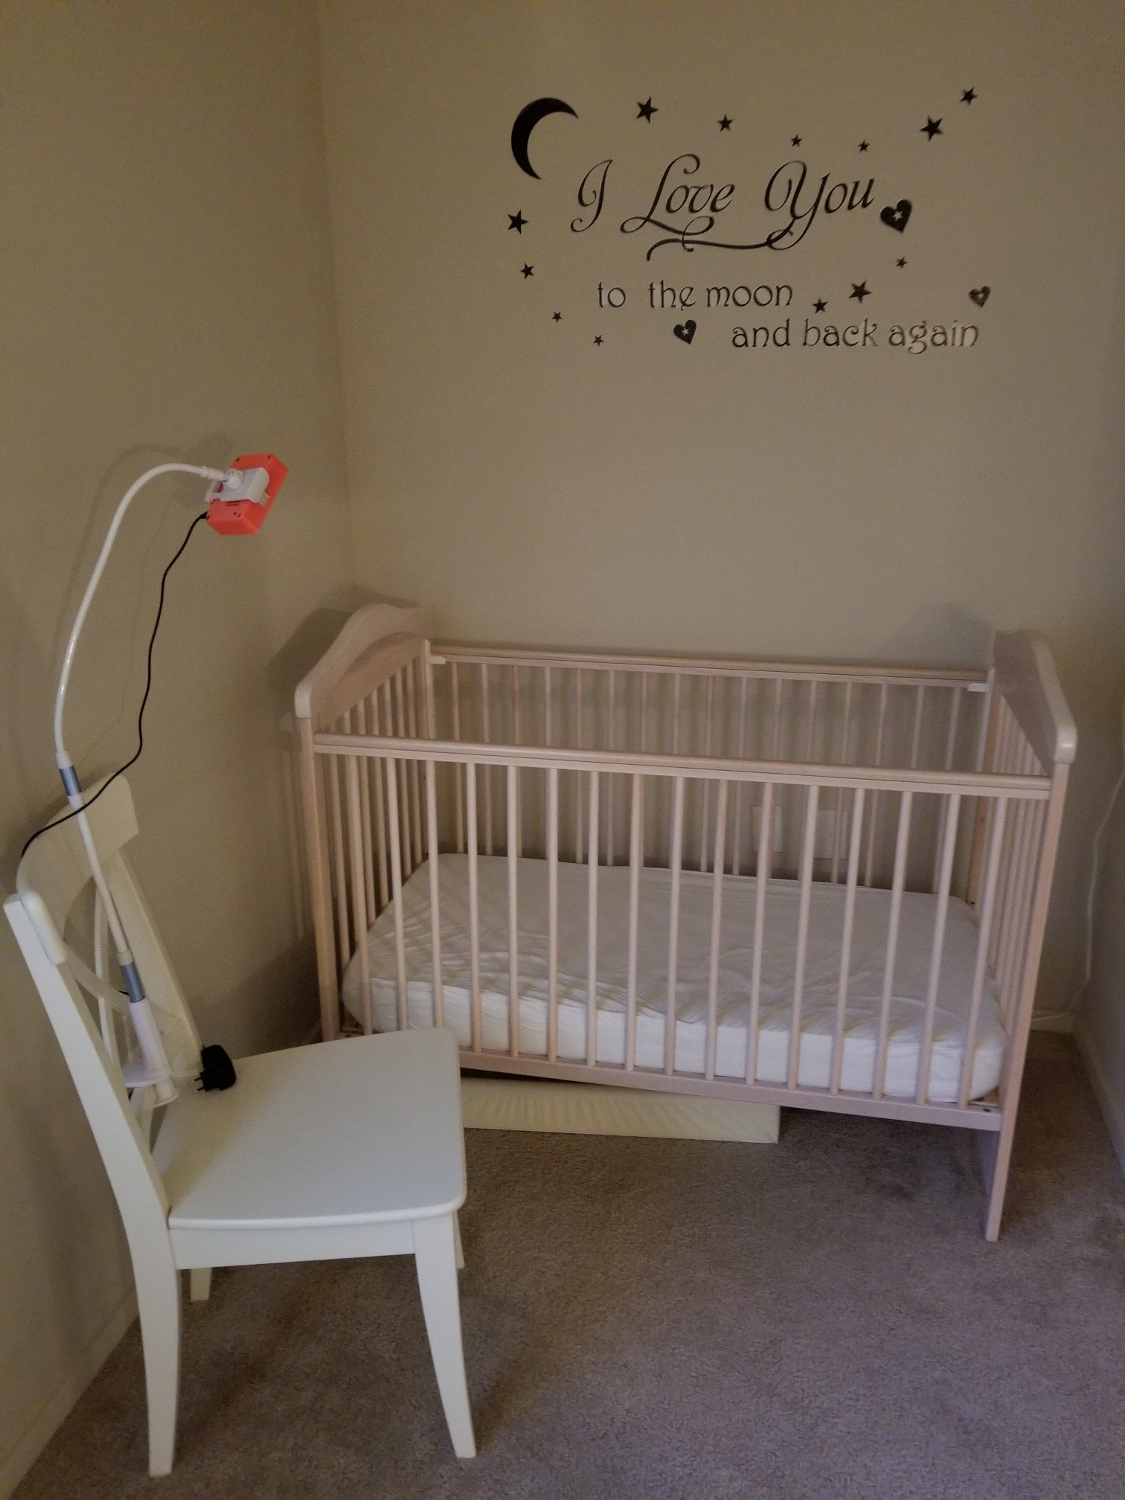
Baby monitors have grown up fast. Once confined to audio, they now have all manner of gubbins inside them, from cameras and night vision to temperature readings, two-way talk, and even lullabies. For many parents, they’re an essential tool for ensuring a baby is comfortable and safe. But although there are so many on the market, none of them suited Dmitry Ivanov. So he grabbed a Raspberry Pi and made his own.
This article was written by David Crookes and appears in The MagPi #65.
Called FruitNanny, the invention essentially began with a camera-connected Pi stuffed inside a plastic lunchbox. “I’d ordered the Pi NoIR module and a microphone and started to experiment,” he tells us. “I played with different programs and tools, but most of them didn’t work.”
He found the original Pi wasn’t powerful enough for the job and switched to a Pi 3. “I spent lots of sleepless nights trying to find the right combination,” he continues. “But when I finished a proof of concept with a working setup in a lunchbox, I started to think about a case and a proper web application to combine information from sensors and media streams.”
As a bare minimum, Dmitry wanted his baby monitor to stream audio and video to his PC without latency. He also wanted it to show the current temperature and humidity, work at night, and have a quiet mode where it was possible to see the audio streams but not hear them. Sticking with the NoIR camera and a cheap iPhone lens to widen the viewing angle, he added a DHT22 sensor to gather the temperature and humidity data. He also used twelve infrared LEDs for night vision and added resistors.
Custom case
“I started to design the case too,” he says. “I had several cases for Raspberry Pi, but I couldn’t fit all of the hardware inside. I wanted something that looked pretty and not boring like almost every other baby monitor.” He considered making it in the shape of a toy like Ironman or a Minion. “But I soon realised that I don’t have a designer’s talent. I tried 3D modelling with SketchUp and a 3D printer for the first time and after several failed attempts and with the help of a friend, Christos, printed a simple rectangle, which worked well.”
The case is actually in four parts. The Pi and the electronics are fitted in the main part of the case and a cover is placed over the top. There is a cap for easy access to the Ethernet port of the Pi and a DHT22 cradle which isolates the sensor from the Pi and protects it from heat. Fitting the electronics together proved relatively straightforward. The software was a little trickier.
“I had used a UV4L video driver at the beginning because it was easy to install and configure,” he recalls. “But it’s a proprietary product and it wasn’t easy to customise. I wanted to add my own video settings and extended web UI, so I decided to use something different. Since I needed a real-time media stream without latency, I found an amazing project from Meetecho, called the Janus WebRTC Gateway. I took this, added GStreamer and several scripts, and tied everything up with the Node.js web application.”
The baby monitor worked a treat, providing an affordable and secure video baby monitor that Dmitry could potentially customise in the future. Yet he admits he only used it for a few months: “When my son turned one, we started to use it very rarely.” Even so, he says his head is now full of new projects. “I’m also still going to work on the FruitNanny occasionally to help people in the same situation I was in.”


