Walk the walk
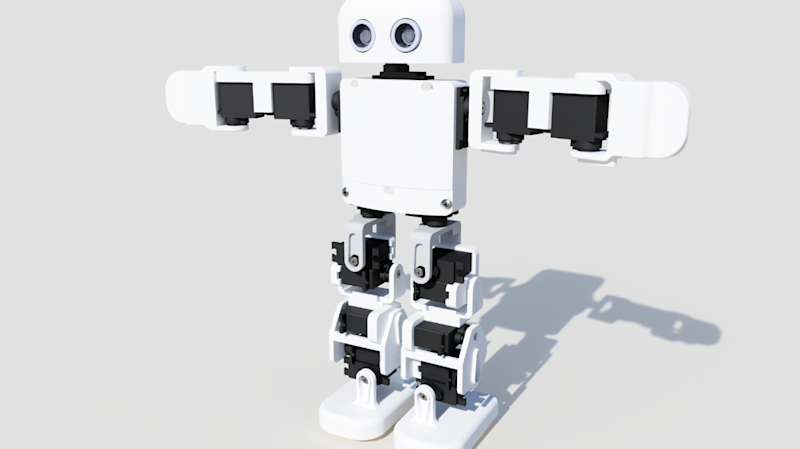
Kevin wanted to create a small bipedal robot so he could develop his expertise with walking and gestures. He relished the idea of designing something that would quite literally stand or fall depending on whether he was able to get the balance right, but also the instability needed to allow his electronic biped to walk. He envisaged a robot similar in looks to Plen (the first open-source, 3D-printable robot), with nods to Robosen (which makes the likes of Optimus Prime and Buzz Lightyear robots) and EZ-Robot, a self-assembly robot for educational use. Walking and smoothly extending the limbs were key, and meant Kevin would need to consider the robot’s aesthetic design and be vigilant about 3D-printing tolerances.

The ambitious robot design will provide “18 degrees of freedom” proclaimed Kevin part-way through the build, “and move in 18 different ways.” The hands, arms and shoulders, hips, upper leg, knee, lower leg, shin, and foot will all articulate, while the neck will be able to rotate. All of this necessitates a board with 18 servo sockets, hence Kevin’s choice of Pimoroni’s Servo 2040 board based on the RP2040 chip. A clear advantage for Kevin was being able to program everything in MicroPython, his first choice of programming language due to its simplicity. The straightforward code is pretty important as Kevin aims to put together a tutorial for Chip which all ages will be able to follow. He also rates Pimoroni’s documentation and support, and says “Pimoroni includes some great servo classes that have servo easing to make motion really buttery smooth.” Even so, he needed to adjust the tolerance (distance between the two arms between each servo) so the servos would move freely.
Rock solid foundations
Kevin says using the RP2040-powered Pimoroni Servo 2040 board meant he could get straight to the interesting part of this project, designing the parts and constructing them. The Raspberry Pi RP2040 chip at its heart “has plenty of power and flexibility to enable me to add extra sensors, such as an IMU (inertia measurement unit), so the robot can balance and keep itself upright.” However, it didn’t all go quite to plan: “I burned out a couple of servos making this project; the joints were too stiff, and I cranked up the amperage to see if they could move it better, and magic smoke appeared.”

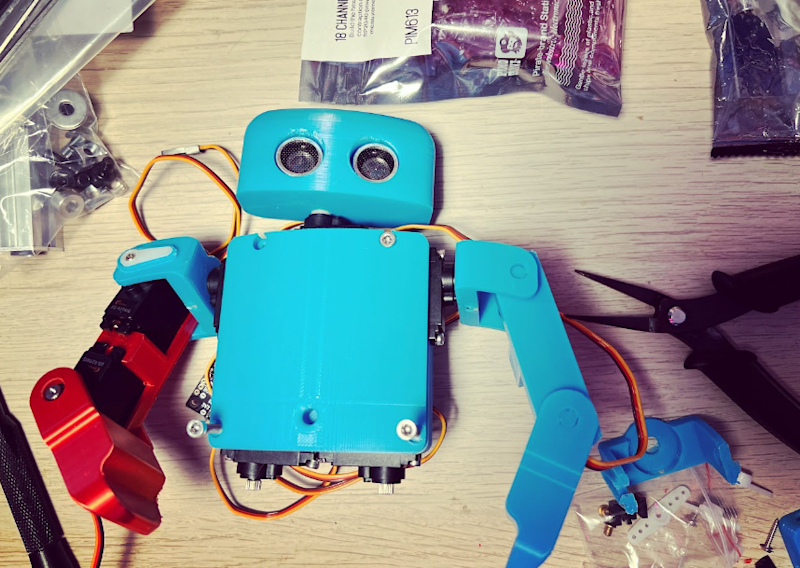
Despite his experience in 3D printing and robot design, Kevin found he had to print several versions of each part to get the fit just right. “Designing the model in 3D doesn’t always highlight the issues you find after 3D-printing the model,” he explains. He was able to reduce the printing time as he has two 3D printers, but one uses red filament, so the pieces then didn’t match, necessitating a complete body spray to give Chip the intended look.
We think Chip looks great and will be keeping an eye on Kevin’s blog to see how the self-balancing feature based on the PID algorithm comes along. Having splurged on 19 servos costing £9 each, Kevin admits Chip is an expensive build, but loved bringing him to life: “Seeing a little human-like robot walking around is too much fun!”


