
Strong arm
We tried out the Advanced kit with Raspberry Pi 5. The arm comes ready-assembled, sitting on a solid black metal base whose rear section holds Raspberry Pi, secured with screws and pillars. Four suction cups stick the base to a desk or the floor – not the most secure of methods – but the unit itself is very sturdy.
The breakout board is mounted on Raspberry Pi and wired from JST connectors to the arm, with some spare servo and SPI sockets. Power – for the arm and Raspberry Pi – is supplied from a 7.5V 6A DC PSU via a barrel adapter with two wires that fit into screw terminals on the breakout board.
The arm itself has six DOF (degrees of freedom) counting the gripper on the end of it, which can be rotated via a ‘wrist’. The base servo enables the whole arm to rotate, while three vertical elbow joints, with anodised metal brackets, enable countless possible positions. The servos are of three types/sizes, each with 0.3° accuracy, 0–240° rotation range, and feedback for angle read, temperature, voltage and position. Arm movement is reasonably smooth, and not particularly noisy.
A view to a thrill
Mounted just behind the gripper, the HD camera offers a wide-angle 120° view. It’s connected by a long, loose cable to one of Raspberry Pi’s USB ports, with no clips to secure it to the arm, although it does pass through a cutout in the metal base.
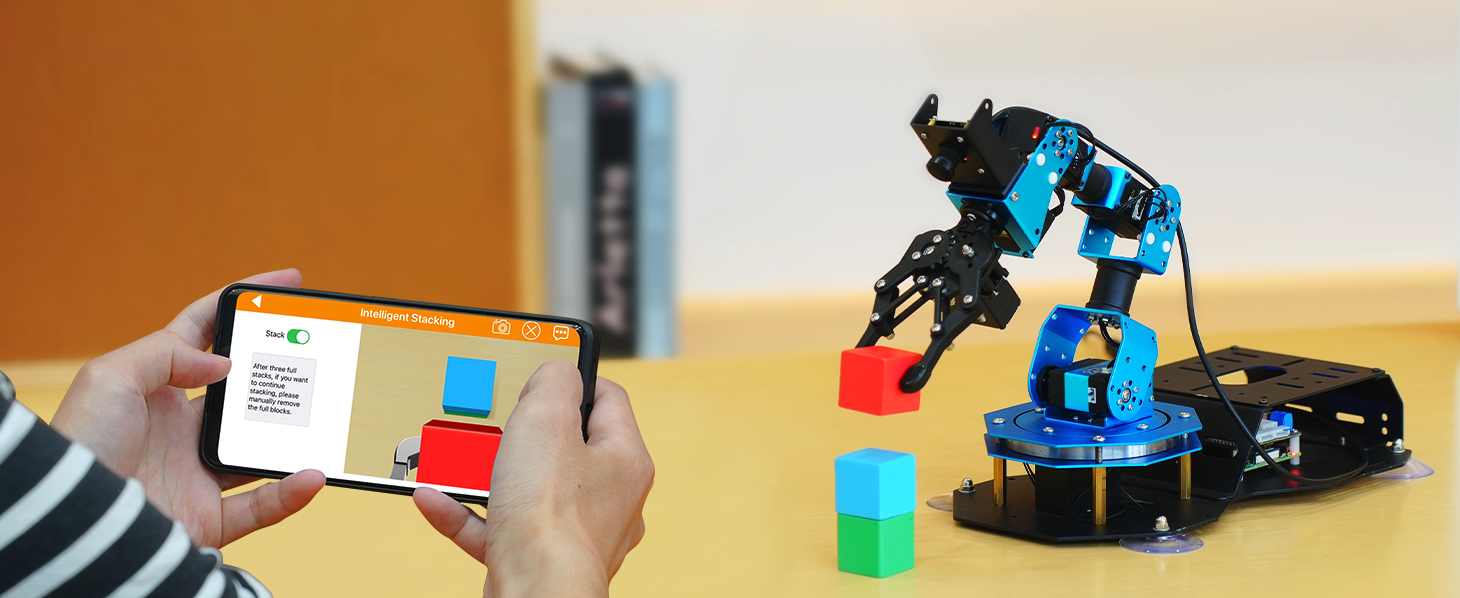
The camera is the key to the arm’s AI abilities. The simplest way to try these out is with the WonderPi smartphone app (iOS or Android). Once your phone is connected to the arm’s automatic Wi-Fi hotspot, you can use the app to control it remotely. The gripper, wrist, and base servos are adjusted by pressing on-screen arrows, while the others are controlled by dragging them on a graphic of the arm.
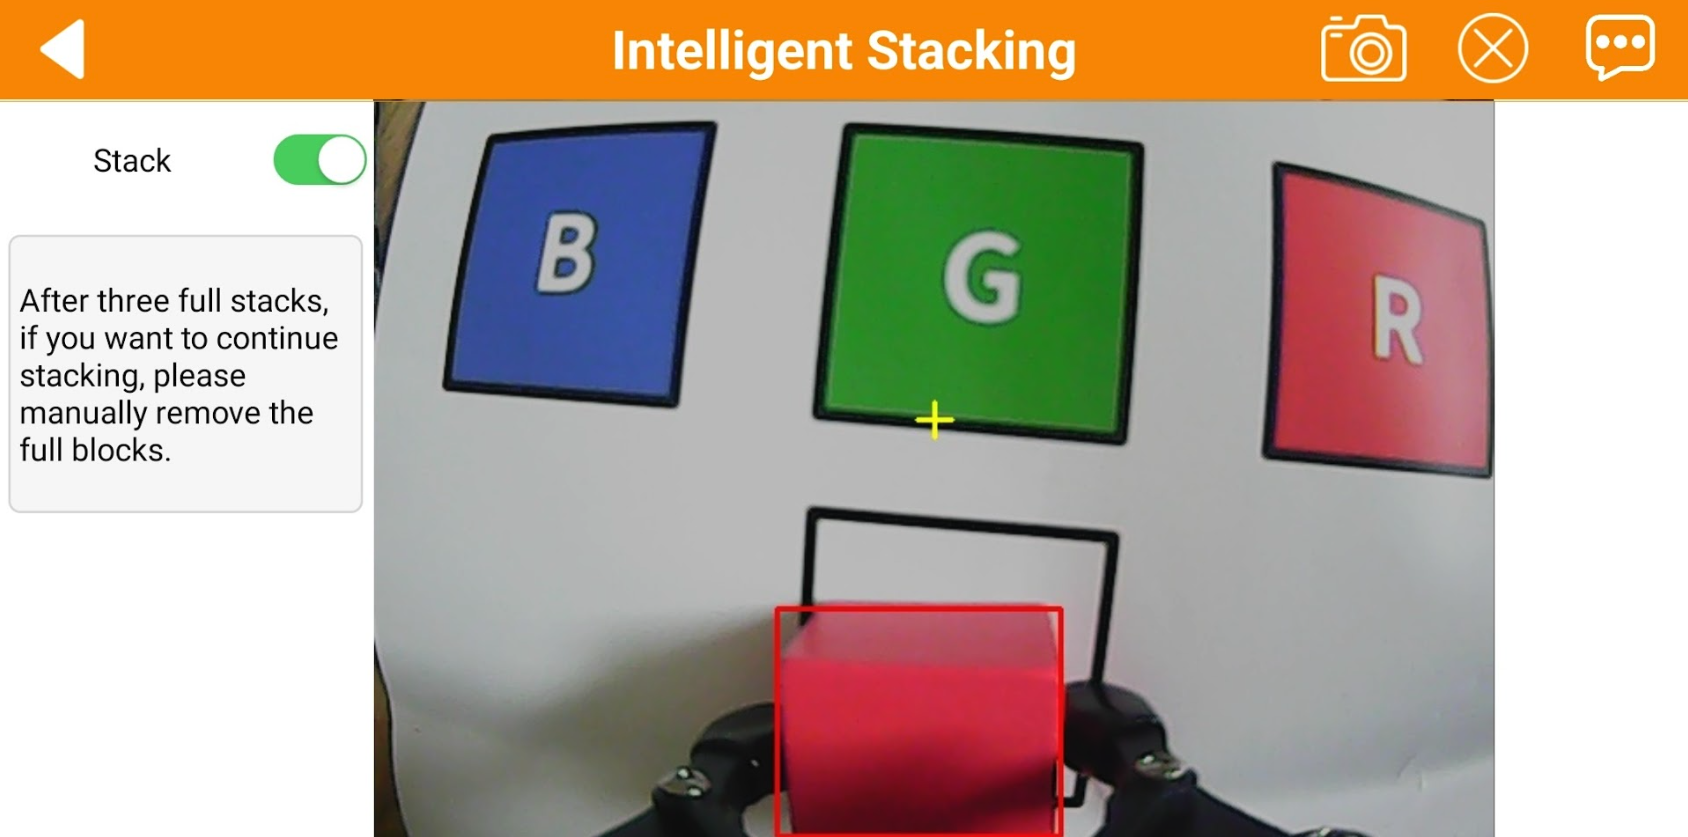
The app’s AI modes are where the fun really starts. Item tracking sees the arm move to track an object of the chosen colour (red, green, or blue) held in your hand. Face recognition is self-explanatory, resulting in a gripper ‘wave’ to say hello. Item sorting and stacking modes see the arm pick up coloured (or tagged) blocks in turn and either place them on the correct squares on the paper map, or stacked up on a blank square. It’s impressive to watch in action and the app gives you an FPV camera view. If you have the optional shelf units, you can get it to do warehousing, delivering, and transferring tasks.
The app is just a showcase for the arm’s capabilities, however: a starting point. By following an extensive array of online tutorials, you’ll learn how to program it with Python, use OpenCV for image recognition, employ ROS (Robot Operating System) and MoveIt motion planning, use inverse kinematics to reach a desired arm position, and much more.


