
As a Raspberry Pi owner wanting to do something fun, your choices are near limitless. Whether you’re leafing through loads of little projects in the pages of The MagPi, or seeing projects around the internet that look interesting, the only constraints are time and money. Some projects can last months, while others take hours or days, but why not try a project that you could complete in half an hour?
The full article can be found in The MagPi 39
Whether you have a bit of time in the evening to hack around with a Raspberry Pi, or want something quick to do with your kids that’ll keep them interested long enough to see the results, we’ve got a little project just for you. With a mixture of hardware and software projects (and one using spoons), each with its own shopping list, you can get yourself set up in advance to tackle a project in one sitting, in the same amount of time it takes to order a pizza – which, incidentally, is a fine reward for completing your Raspberry Pi project!
High-speed photography
Requires: Raspberry Pi Camera Module
You’ve probably seen great clips on YouTube of water-filled balloons bursting in slow motion, and imagined you’d need really expensive camera equipment to capture anything similar. Not so! Your humble Raspberry Pi with a Camera Module is surprisingly capable when it comes to high-speed photography. Loads of everyday events look cool is slo-mo, but how about recording some dramatic crashes with toys?
At first glance it seems counter-intuitive, but in order to create a smooth slow-motion movie, you need a high-speed camera. Essentially, a movie is just a collection of still photos, or frames, all played one after the other at a speed that matches the original action. A slow-motion clip is produced by recording more frames than are normally needed and then playing them back at a reduced speed. Normal film is typically recorded at 24 frames per second (fps), with video frame rates varying between 25 and 29fps depending on which format/region is involved. So if you record at 50fps and play back at 25fps, the action will appear to be taking place at half the original speed. It’s actually more complicated than that with the use of interlaced frames, but you don’t really need to consider them here.

Recording at 90fps
The original software for the Pi camera was limited in terms of the frame rates it could cope with, but a subsequent update in 2014 added new functionality so that clips can now be recorded at up to 90fps. There is one slight limitation: the high frame rates are achieved by combining pixels from the camera sensor, so you have to sacrifice resolution. So, although the Pi camera can record at a resolution of 2592×1944, a high-speed mode of 90fps is only possible at 640×480. This is still good enough to capture decent-quality images, and perfect for sharing online.
A quick way of getting started is to pick some everyday objects and record them in motion. How about a dropped egg hitting a table top? A pull-back toy car crashing through some Lego blocks? Or even the old favourite of a water balloon bursting (best to do this one outside)?
Lights! Camera!
Once you’ve chosen your subject, you’ll need a way of holding and angling the camera, and some way of lighting the scene. Neither needs to be sophisticated: a normal desk lamp works fine for extra illumination indoors, while a ‘helping-hand’ work aid is brilliant for keeping the camera stable at tricky angles. You might also want to invest in a longer cable for the camera. You can get a 30cm ribbon cable for less than £2 or if you want to go even longer, a set of special adaptors allows you to extend using a standard HDMI cable.
... and action!
The standard mode of operation for the Raspberry Pi camera is that a small red LED illuminates when recording is taking place. This can cause some undesirable reflections if the camera is positioned close to an object (e.g. a wall of Lego bricks). You can just block it off with a blob of Plasticine, or you can turn it off completely by adding the line disablecameraled=1 to your /boot/config.txt file.
The command for capturing video with the Raspberry Pi camera is raspivid, and this is best run from the terminal. There are a number of command options that you need to specify:
-fps sets the frame rate.
-w and -h specify the width and height of the frames. For the fastest frame rates, set this to 640 and 480 respectively.
-t allows you to set how long to record for. If you’re working by yourself, the easiest way to avoid missing any of the action is to begin filming for a predefined period, giving yourself plenty of time to start things off manually.
-o specifies the file name to use for the saved movie.
-n disables preview mode.
So, putting that all together, the following commands would capture a 5-second clip at 60fps and save the resulting movie in the file test.h264:
raspivid -n -w 640 -h 480 -fps 60 -t 5000 -o test.h264
Right - now that you’ve recorded your movie clip, how can you play it back? One easy way is to use the free VLC Player, which you can install with:
sudo apt-get install vlc
The Pi version has some handy features which can be accessed by checking the ‘Advanced Controls’ option under the View menu. These include the extremely useful ‘Frame by Frame’ button . You can also alter the playback speed to slow things down even further.
To extend the project, how about connecting a break-beam IR sensor pair via the GPIO pins and using these to trigger the camera recording? The Python Picamera library provides full access to the camera’s functions and could be used with your code.
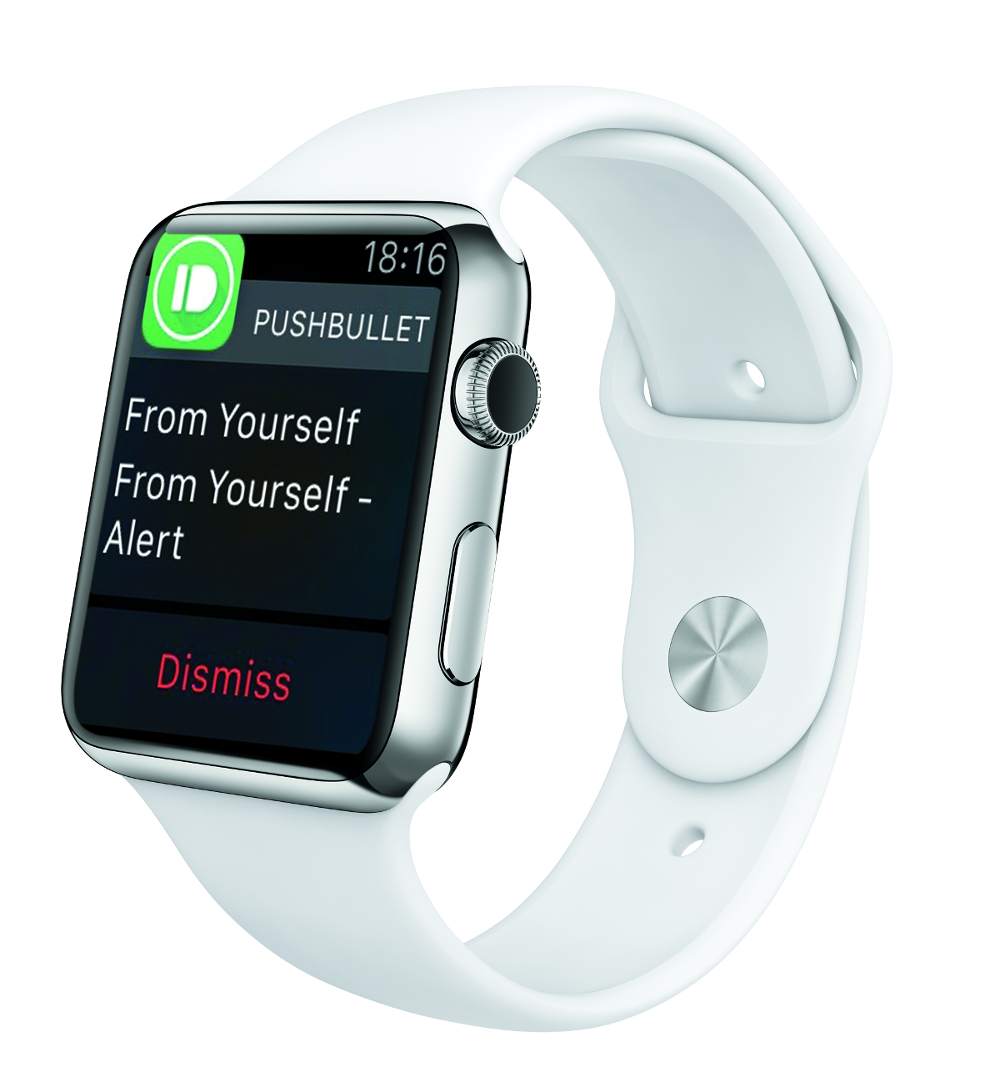
Connect your Raspberry Pi to your smartphone and watch
Requires: Android or iPhone (optional smartwatch), Pushbullet account
One neat trick we recently discovered is how to hook up a Raspberry Pi to an Apple Watch. You do this using a service called Pushbullet, which normally syncs notifications from your desktop computer, but handily comes with an API for the Raspberry Pi. It’s simple to set up and comes in useful for all kinds of projects.
Pushbullet is an app for the iPhone and Android that enables you to send notifications from your PC or Mac to your mobile device. It’s mainly designed so people can sync alerts from their main computer to an iPhone or Android phone, and get notifications on their phone from their computer.
However, there is an API for Pushbullet that developers can use to include support for the service in their programs. This is great because it turns out you can easily create a script that sends you an alert with a custom message. And your Pi can easily call the script.
Why we really love this is because Pushbullet has support for the new smartwatches, such as the Apple Watch and Google Watch. With a bit of tinkering, you can get alerts sent from your Raspberry Pi directly to your wrist. How cool is that?
Project overview
You can set up Pushbullet on your phone and smartwatch, and use it to get your alerts from your Pi. The full Pushbullet API requires coding in Ruby, but we found it a lot easier to build a script in Unix that sends the alert, and then use the OS module in your Python programs to run the script.
The Pushbullet API works by using the curl command, along with your Access Token, to call the Pushbullet service. Your Access Token is a unique number that links the Pushbullet service with Pushbullet apps installed on your devices. You can learn more about the API in the documentation, but we’ll walk you through it and show you how easy it is.
Installing Pushbullet
Start by installing the free Pushbullet app on your Android phone or iPhone. When you first launch Pushbullet, you’ll need to sign up with a Google or Facebook account – enter your email and password for that and tap Sign In. That’s it for your phone and Apple Watch; everything else needs to be done on the Raspberry Pi.
The Access Token
Hooking your Pi up to the app you’ve just installed requires an Access Token. This is a long alphanumerical key that is unique to your account. You’ll need it to ensure that your alerts are sent to the right person.
Open the Epiphany web browser and visit pushbullet.com. Log in using the same details as on your Android phone or iPhone. Now choose Settings>Account and scroll down to find the Access Token. You should test that this works before going any further (see ‘Connecting Pushbullet’ boxout).
The Raspberry Pi will connect to the Pushbullet API and send the alert. You should see a long message in the terminal, starting with “active”:true, and receive a test notification on your smartphone. Open the Pushbullet app on your device to see the alert.
Creating the Script
If the test alert worked, you should create a script to send an alert whenever you want it. Your Access Token won’t change, so you can create one script that accepts a custom alert as a command-line argument.
Enter touch pushbullet.sh and enter the code below, replacing [Access Token] with your own code. You can also download it from GitHub, but remember to edit it to insert your Access Token. The script needs to be executable, so enter sudo chmod 755 pushbullet.sh and move it to your /usr/bin folder (sudo mv pushbullet.sh /usr/bin).
#/bin/bash

# replace [your access token] with the code from Pushbullet.com
# make sure this file is executable
# move file to /usr/bin

API=”[Access Token]”
MSG=”$1”
curl -u $API: https://api.pushbullet.com/v2/pushes -d type=note -d title=”Raspberry Pi” -d body=”$MSG”
Do a quick test to make sure everything worked. Enter /usr/bin/pushbullet.sh “Testing Testing” and you should get an alert saying ‘Testing Testing’. All good? From now on, this script will ping you any message you include in the quotation marks.
Running the script from Python
Now you have the script ready, you’ll want to incorporate it into your programs. It’s easy enough to do this in Python using the OS module. Enter import OS at the start of your program and os.system (‘/usr/bin/pushbullet.sh “[Your Alert]”’) to call the script from inside your program.
We’ve created a simple Python program to demonstrate how it works. Enter the code from pushalert.py (below) and use python pushalert.py to run it. Now press ENTER and you’ll get an alert sent to your iPhone or Android phone (and connected smartwatch).
import os

buttonpush = raw_input(“Press Enter to send alert...”)
os.system(‘/usr/bin/pushbullet.sh “Alert from your Raspberry Pi”’)
And that’s how easy it is to get alerts on your wrist from your Raspberry Pi. Now you can include the OS call in any of your programs and get alerts whenever you want.
Want more quick projects? Read part two of our 30-minute projects guide


